The Complete FMS FCX24M Upgrade Path

From stock to unstoppable. The definitive solder-free guide to transform your FMS FCX24M into a pro-level micro crawler. Step by step. No confusion.

Start Your Build →
Tier 0

Foundation

"Before you upgrade anything, set yourself up to never strip a screw."

~$10–15 Order & prep

The Only 3 Driver Bits You Need

Every screw on the FCX24M uses one of these three sizes. Skip the $30 generic kit. $8 worth of specific bits does the job better.

1.5mm Hex

Suspension bolts, motor mount

AliExpress Buy

1.3mm Hex

Vast majority of hardware (body shell, transmission case, etc.)

AliExpress Buy

PH00 Phillips

Interior, driveshafts, clipless mounts

In Box

Wheel nuts use a 4mm hex nut driver, and it already comes in the FCX24M box. Use it when you need to pull the tires.

Essential Accessories

Magnetic Parts Tray

FCX24M screws are tiny. One drops on carpet = gone forever.

AliExpress Buy

Chassis Prep: Move Battery to Front

This is the single most important prep step before installing new electronics.

Relocate the battery from the rear tray to the front of the chassis.

This achieves two critical things:

1. Better COG that adds weight over the front axle for more stable climbing and descents

2. Space for electronics, freeing up the rear tray for mounting the new ESC and receiver in Tier 1

No modifications to any stock part are required - the battery tray and ESC are adaptable to the c-rail holes that came from the factory.

FCX24M Battery Relocated to Front
Tier 1

Brushless Power

"Unlock buttery slow crawl and real control. No soldering required."

~$90–100 60–90 min

What You're Replacing and Why

The stock electronics struggle at low speeds. This build unlocks full FOC control for sub-1 RPM crawling.

Stock FMS FCX24M chassis with jerky brushed motor and ESC Stock Layout
Completed FMS FCX24M Solder-Free Brushless Upgrade with Hobbywing WP Mini24 Brushless Converted (Click to zoom)

Same Throttle. Different Result.

Stock 050 brushed with auto throttle hits the wall and stalls. Same obstacle, same throttle input. The Hobbywing ESC with FOC and the 3600KV outrunner just crawls it through.

No extra throttle. No bumping. Just controlled torque at low RPM. That is the difference this section is trying to show.

About generic 1224 motors

I picked this 1224 motor because FCX24M options are limited by the tight chassis. With these generic AliExpress 1224 outrunners, the main issue is inconsistent quality control. That usually shows up in magnets, bearings, and rotor quality, which is why one motor can feel smooth while another stutters at very low speed and only cleans up once RPM rises. One guide follower, Jim Hathaway, had to return his motor for that exact reason. AliExpress usually handles returns and refunds well.

The Hobbywing WP Mini24 usually handles this better with cleaner low-speed FOC control, but it still cannot fully compensate for a weak generic motor. I still run mine hard, sand, trail, crawling, and if it gives up under abuse, I’ll update this page.

High Performance. Low Cost.

Why pay $300+? This pro-level build is shockingly affordable.

Stock FCX24M Unit $95
Upgrade Parts (ESC, Motor, Radio) ~$93
Recovered Spares (Sold/Reused) -$39
Effective Total Cost ~$149

*Includes cost of purchase, upgrades, and tools like the Pinion Puller. Spares value estimated based on resale of stock Transmitter/Receiver/ESC combo.

The Shopping List

Everything you need. Grouped by category. All links verified and tested.

Electronics
Hobbywing WP Mini24 ESC

Hobbywing WP Mini24 ESC

FOC brushless ESC. The heart of this build

AliExpress
Buy
1224 3600KV Motor

1224 Outrunner Motor (3600KV)

High torque, runs cool under hard body load

AliExpress
Buy
DumboRC X6PM-350

DumboRC X6PM-350 + P6FP Receiver

6CH radio with voltage telemetry. Compact P6FP fits FCX24M

AliExpress
Buy

Radio power tip (real use): The DumboRC runs on 4x AA. Alkalines I used died in ~10 days. Switching to IKEA LADDA 2450 mAh NiMH rechargeables + the STENKOL charger gives me ~15 days with regular use and voltage telemetry always on. Big long‑term savings.

Price is typically around $18–20 for the STENKOL + LADDA bundle (varies by country).

IKEA lists LADDA 2450 mAh as made in Japan on some regional product pages. IKEA does not confirm the OEM, but some independent reviews speculate Panasonic/Eneloop lineage.

Solder-Free Adapters (Critical)
Molex to PH2.0

Power: Molex → PH2.0

Connects ESC to FMS battery. No soldering

AliExpress
Buy
JST 1.25 to JR

Signal: JST 1.25 → JR Female

Connects stock gear-shift servo and stock/aftermarket light plugs to DumboRC receiver

AliExpress
Buy
Essentials
Hobbywing Program Card

Hobbywing LED Program Card

Configure ESC settings. Required for FOC tuning

AliExpress
Buy
Meus Racing Pinion Puller

Meus Racing Pinion Puller

Swap 12T → 11T pinion. Pulls + presses in one tool (no separate press).

Amazon
Buy
Double Sided Tape

15mm Double Sided Tape

Secure ESC & receiver to chassis

AliExpress
Buy
Super Lube Multipurpose Synthetic Grease with PTFE

Super Lube Multipurpose Synthetic Grease (PTFE)

Re-grease after opening the metal transmission. Smooth, quiet operation.

AliExpress
Buy
Why PTFE works here Stock brass + future steel upgrades.

PTFE = Teflon: It creates a low-friction film that is safe on brass and steel.

Brass + axles: Less wear, smoother mesh, quieter drivetrain.

Steel upgrades: Holds up under higher load and heat without breaking down.

Avoid thick grease: It adds drag, attracts grit, and can slow the tiny drivetrain down.

Cable Management (Choose One) Same purpose. Pick based on how often you rework wiring.
Hook and Loop

1cm Hook & Loop Tinkering

Removable and reusable, but grip weakens over time.

AliExpress
Buy
Mini cable ties for RC wiring

Cable Ties Permanent

Factory-style routing once your layout is final.

AliExpress
Buy
Optional
11T .3 Mod Pinion Gear for FMS FCX24M

11T Pinion Gear (.3 Mod, 1.48mm Hole)

Optional: if you prefer not to swap the stock pinion. Make sure to choose 1.48mm hole and .3M mod pitch to mesh correctly with the stock spur gear.

AliExpress
Buy

Common Mistakes: Before You Start

Every one of these cost me hours. Learn from my mistakes so you don't repeat them.

What happens The transmission dog clutch misaligns and the 2-speed gearbox stops shifting properly. You'll need to open the entire gearbox to reset it.
How to avoid Mark the servo arm position with tape or a marker before disconnecting. Take a photo of the linkage angle for reference.
What happens The 1224 motor often ships with a 12T pinion, but the FCX24M uses 11T. Wrong mesh = motor overheats, gears strip, or excessive noise.
How to avoid Always swap the stock 11T pinion from the old brushed motor onto the new 1224. Use the Meus Racing puller/installer. It's the only tool that handles these micro pinions without damage.
What happens Instant ESC death. The Hobbywing WP Mini24 has no reverse polarity protection. One wrong connection = $25 paperweight.
How to avoid Red = Positive (+), Black = Negative (−). Triple-check your Molex to PH2.0 adapter before plugging in. Test with a multimeter if unsure.
What happens Wild throttle behavior , the motor may spin at full speed instantly, or brakes won't engage. This can damage servos or fling your truck off the bench.
How to avoid Always calibrate neutral → full throttle → full brake BEFORE installing in the chassis. Bench test with wheels off the ground first.

Step-by-Step Installation

Follow this exact sequence. Each step builds on the last.

1

Remove the Body Shell

Remove the two 1.3mm hex screws at the rear of the chassis and unhook the velcro strap at the front. Set the Camel Trophy body aside safely, it's delicate.

2

Disconnect & Remove Stock Motor

Unplug the motor from the stock ESC. Remove motor mount screws (1.3mm hex). Keep the stock motor. You'll need its 11T pinion.

Before touching the gear shift servo, mark its arm position with tape. See "Common Mistakes" above.
3

Swap the Pinion Gear

Remove the stock 11T pinion from the brushed motor and press it onto the 1224 outrunner shaft using the Meus Racing puller/installer.

▶ Watch: Meus Racing Pinion Puller Usage
4

Mount the Brushless Motor

Install the 1224 motor in the stock motor position. The PH2.0 3-pin connector plugs directly into the Hobbywing WP Mini24. No soldering needed.

Before fully tightening the motor screws, check the pinion and spur gear mesh. Too tight adds noise and heat. Too loose chatters and wears the gears.
▶ Watch: Simple pinion / spur mesh check
While you have the gearbox open, replace the plastic spur gear with the metal one that came in the box. The brushless motor puts out more torque and will strip the plastic gear quickly.
5

Mount the Hobbywing ESC

Use double-sided tape to secure the ESC to the chassis. Position it flat with cables routing cleanly toward the motor and receiver.

6

Mount the DumboRC P6FP Receiver

Flip the receiver and mount it horizontally in the rear battery tray using double-sided tape. This keeps the center of gravity low and clears the scale interior.

7

Wire Everything Up

Connect: Battery → Molex-to-PH2.0 adapter → ESC → Motor. Throttle cable → CH2. Steering servo → CH1. Gear shift servo (via JST-to-JR adapter) → CH4. Use hook & loop to tidy cables.

8

Bench Test Before Closing

Power on with wheels off the ground. Verify: motor spins correct direction, steering centers, gear shift works, no strange noises. Only then reassemble.

Critical: Always bench test before putting the body back on. It's 10x easier to fix wiring issues now than after reassembly.

Radio & ESC Calibration

The DumboRC X6PM-350 is powerful but setup isn't obvious. Follow each card in order.

Bind the Receiver

If you bought the X6PM-350 and P6FP as a pair, they come pre-bound. The green LED will already be solid when you power on. You can skip this step.

  1. Turn on the DumboRC X6PM-350 transmitter
  2. Hold the bind button on the P6FP receiver
  3. Power on the receiver (connect battery)
  4. LED goes solid = bound successfully

Calibrate ESC Endpoints

  1. Turn on transmitter, leave throttle at neutral
  2. Hold ESC Set button, turn on power. Release when LED flashes
  3. Neutral: Press Set → 1 flash/beep
  4. Full Throttle: Pull trigger → Press Set → 2 flashes
  5. Full Brake: Push trigger → Press Set → 3 flashes
▶ Watch Official Calibration Video

CH1:Steering Endpoints

In DumboRC settings, adjust CH1 EPA (End Point Adjustment) to set maximum left/right steering angle. Start at 80% and increase until wheels are at full lock without binding.

▶ Watch Tutorial: Setting DumboRC Endpoints

CH4: Gear Shift Servo

On the DumboRC path in this guide, CH4 drives the gear shift servo like a normal servo channel, so you are only setting low gear and high gear travel. The stock FCX24M G3 transmitter (radio) + ESC/receiver combo is different: FMS gives it low, neutral, and high on the same switch through its stock configuration.

DumboRC radio settings mode reference

Reference: X6PM-350 settings mode. Click to zoom.

  1. Enter settings mode on the X6PM-350 by holding the wheel and trigger fully back while powering on, then pressing power again within 5 seconds. Select CH4.
  2. Use the travel knob to start around 60%, then double-press power to save.
  3. Keep the servo arm disconnected before radio power so the servo can rest at its actual position first.
  4. With the gearbox shift shaft held at the low gear end, reconnect the linkage to the resting servo arm.
  5. Test low gear first, then tap CH4 again for high gear. If one end does not lock fully, raise CH4 travel by about 10%, save again, and retest. Reverse the channel only if gear direction is flipped.

If your stock FCX24M G3 transmitter (radio) + stock ESC/receiver combo has gear shift issues, use this separate fix guide.

▶ Read: Stock FCX24M gear shift fix guide

Battery Voltage Return

Use the battery return pigtail cable that comes included with the DumboRC P6FP receiver. Connect the female end to the BAT port on the receiver, and the male end to the balance charger plug on your LiPo.

  1. Identify the balance charger plug on your LiPo (the small white 3-pin connector)
  2. Connect the pigtail's male end to the outer two pins only (Red to Red, Black to Black). The center pin is the balance wire and must be left unconnected
  3. Connect the pigtail's female end to the BAT port on your P6FP receiver
  4. Your DumboRC X6PM-350 transmitter will now show real-time battery voltage via LED indicators

Polarity warning: Never connect the wires in reverse. Swapping Red and Black is reverse polarity and will damage the receiver instantly.

Pro tip: Consider buying a dedicated balance charger female plug and soldering it to the pigtail. This gives you a proper keyed connector that physically cannot be inserted the wrong way, eliminating any risk of accidental reverse polarity.

CH3: Connect Lights

Note: This is the simple on/off setup. If you want breathing, flashing, and separate light zones, skip to Tier 3 and use the independent DumboRC light controller module.

The P6FP receiver has a dedicated LIGHT port that is controlled via CH3 on your transmitter. Do not plug the light harness directly into the CH3 channel port - that will keep the lights on permanently with no radio control.

  1. Connect the stock light harness to the JST 1.25 to JR adapter cable
  2. The JR adapter has 3 wires (Red, Black, White), but the LIGHT port only needs 2 (positive and negative). Cut the white wire (signal) - lights only need Red (+) and Black (-) to work. Trim the white pin tab off the connector so it fits the 2-pin port
  3. Plug the trimmed connector into the LIGHT port on the P6FP receiver
  4. Toggle CH3 on your transmitter to switch lights on and off

ESC Programming Settings

Optimized for FCX24M with 3600KV Outrunner. Start here, fine-tune after your first trail run.

Item 13: Low Speed 10% (Option 1)
Item 12: FOC Power 30% (Option 9)
Item 11: Neutral 4% (Option 1)
Item 10: Punch Level 9 (Option 9)
Hobbywing Program Card Reference

Reference: Program Card Menu Structure (Click to zoom)

Important Notes

  • 1% Adjustments: Items 6, 9, 12, 13 allow 1% steps via LCD box.
  • Motor Type: Supports both Brushed and Brushless (Default: Brushless).
  • Protections: Low-voltage, thermal, fail-safe included.

Wiring Guide

1. Motor: Connect A/B/C randomly. If reversed, swap two wires or change "Motor Rotation" in settings.

2. Receiver: Connect throttle cable to CH2. Do NOT supply extra power (BEC built-in). Optional: Connect single-wire AUX to CH5 for real-time drag brake adjustment.

3. Battery: Ensure polarity is correct (Red to +, Black to -). Reverse polarity damages ESC.

Calibration Steps

▶ Watch Official Calibration Video
Calibration Reference

Reference: Calibration Wiring & Setup

  1. Turn on Transmitter, leave throttle neutral.
  2. Hold ESC Set button, turn on Switch. Release when LED flashes.
  3. Neutral: Press Set (1 flash/beep).
  4. Full Throttle: Pull trigger, press Set (2 flashes/beeps).
  5. Full Brake/Reverse: Push trigger, press Set (3 flashes/beeps).

Features You Just Unlocked

Your $95 truck now performs like a $300+ rig. Here's what you gained.

FMS FCX24M Real-Time Voltage Telemetry on DumboRC X6PM-350

Click to zoom

Real-Time Voltage Telemetry

No more guessing. The DumboRC P6FP receiver sends your lipo voltage back to the transmitter via LED indicators.

Why this matters: LiPo batteries store energy chemically. Each cell has a nominal voltage of 3.7V and a safe minimum of 3.0V. Draining below 3.0V per cell causes irreversible internal damage - the copper current collector dissolves into the electrolyte, creating micro-shorts that permanently reduce capacity and can cause swelling or fire on the next charge.

The stock ESC has a low-voltage cutoff, but it only kills power when the battery is already at the danger threshold. By that point, you've been running the cells hard at critically low voltage for several minutes without knowing. Repeated cutoffs like this shorten battery lifespan significantly.

With voltage telemetry, you see real-time voltage on your transmitter LED indicators as you drive. You'll notice the gradual drop from 4.2V (full) and can comfortably land the truck before hitting 3.5V per cell - well above the damage zone. This is how you get 200+ charge cycles out of a $15 LiPo instead of 30.

*Requires DumboRC P6FP model for voltage return.

Real-Time Drag Brake Control

Tune your hold on the fly. Map the ESC's Programming Port (AUX) to Channel 5 and use the knob to adjust drag brake strength instantly.

Adjusting Drag Brake on DumboRC Transmitter for FCX24M

1. Control

Dial in 0-100% brake force with CH5 knob.

Hobbywing WP Mini24 Drag Brake Wiring to DumboRC Receiver

2. Wiring

Connect Black & White cable to CH5.

Precision Control & Stability

The ultimate combo: Stock chassis agility meets pro-level electronics.

  • Lower COG: Adjusted front shocks keep the nose down for stable upward climbs.
  • Smooth Torque: The Hobbywing ESC delivers buttery low-speed power to maintain grip.
  • Controlled Descent: Electronic drag braking locks the motor for precise downhill crawling.
Front Shock Adjustment

Pro Tip: Shock Mounting

Move front shocks to lower mounting points to drop the Center of Gravity.

Double the Trail Fun

The FOC brushless system isn't just about going slow; it unleashes serious top-end power when you need it.

  • More Wheel Speed: The 3600KV motor delivers significantly higher RPMs than the stock brushed motor.
  • 2-Speed Advantage: Shift into high gear and use the extra torque to blast through sand, loose dirt, and long open trails.
  • Uncompromised Range: Even with the extra power, the brushless efficiency means you still get incredible battery runtimes.
FCX24M Sand Run

More Power Everywhere

Enjoy blazing speed across open segments without sacrificing low-end crawling ability.

Built From This Guide

Built From This Guide

A real FCX24M Tacomo build from the community, following the Project 24M brushless path.

This is not my truck. Jon Asarias shared this build after using the Project 24M brushless path on an FCX24M Tacomo.

The guide is not limited to the Discovery shell shown above. The platform is the same. What mainly changes is space and body clearance.

Build by Jon Asarias Same FCX24M platform, different body.

Built your own version from this guide? Share it in the FCX24M Facebook community and tag me. I feature standout builds here on the site.

Real-World Micro Sessions

Quick hits of fun. Crawl, climb, and jump anywhere without a full trail setup.

Tier 2

Precision Steering

"The stock servo was designed for a toy. Time to install a real one."

~$15–20 20 min

Why Upgrade the Servo?

The stock plastic servo breaks easily , and I went through two in the first month. It's rated for 5V, limiting torque. Your Hobbywing ESC now provides 6V via BEC, so you can run a real servo at full power.

Required Parts

Emax ES08MA II metal gear servo for FCX24M steering upgrade

Emax ES08MA II Metal Gear Servo

Reliable steering upgrade. Standard JR plug goes straight into CH1 on DumboRC.

AliExpress
Buy
FCX24M custom servo mount for Emax ES08MA II steering conversion

FCX24M Custom Servo Mount for Emax ES08MA II

Required because the stock FCX24M mount does not fit the Emax properly.

AliExpress
Buy
15T metal servo horn for Emax ES08MA II on FCX24M steering linkage

15T Metal Servo Horn for Emax ES08MA II

The Emax already comes with a plastic horn. This is a good upgrade if you want a better look and a bit of extra low-down weight over the front end.

AliExpress
Buy

Installation Steps

  1. Remove the stock servo (PH00 screws)
  2. Remove the stock servo mount from the chassis
  3. Install the 3D printed mount in its place
  4. Mount the Emax ES08MA II into the new mount and fit the 15T horn
  5. Connect to CH1 on DumboRC P6FP receiver
  6. Set EPA endpoints in DumboRC for steering limits. Start at 80%

Buy Path

Buy all three parts together: servo, mount, and horn. That removes the usual guesswork around fitment.

Mount note: this FCX24M mount is the piece that makes the Emax install properly in the chassis.

Optional: if you want to print your own mount later, the STL files are still here: Google Drive → Emax ES08MA II Mount Files

Pro Tip: Since you already upgraded to DumboRC in Tier 1, the Emax uses standard JR plugs. Zero adapters needed. Plug directly into CH1 and go.

Warning: Battery relocation can make some FCX24M-specific aftermarket servos with short leads feel too tight to reach the rear-mounted receiver. Stock servo with adapter, or the DSPower DS-S003M direct replacement with or without adapter, should not have that issue.

Read: FCX24M servo mount guide
Tier 3

Lighting System

"Indicators, tail lights, and full control from your radio."

~$10–15 30 min

Full Light Control From Your Radio

Static on/off is fine for a quick run. But when you add breathing and flash modes, the FCX24M stops looking like a toy and starts looking like a scale rig.

  • Multi-mode control: On, off, breathing, and flashing
  • Radio-driven: Control it from CH3 on your DumboRC
  • Two light zones: Run one or two light sets

If you only want simple on/off, stick with the Tier 1 LIGHT port wiring.

Aftermarket FCX24M Discovery light kit with front, rear, and roof lights

Click to zoom

Step 1: Add an Aftermarket Light Kit

Choose the kit that matches your body shell. Discovery and Range Rover share one listing. Tacoma uses a different one.

Important: Many kits include a roof light bar. With the Hobbywing ESC’s 6V output, that roof light can burn out. Do not connect it.

Also: The roof light requires drilling a hole in the body. If you want a clean, reversible build, skip it.

Recommended setup: keep the stock headlight and only add tail lights + indicators from the kit.

Discovery / Range Rover Light Kit

Shared listing for both shells. Best fit if you want tail lights and indicators without body-specific guesswork.

AliExpress
Buy

Tacoma Light Kit

Separate body-specific listing for Tacoma. Use this instead of the Discovery / Range Rover kit.

AliExpress
Buy

Step 2: Add the DumboRC Light Controller

This is the module that unlocks modes and separate light zones. Plug it into CH3 and control everything from the transmitter.

  • Plug & play: Servo connector to CH3 for simple control
  • Switch flexible: Works with 2-stage, 3-stage, or PWM control
  • Two outputs: Connect one or two sets of lights
  • Ultra light: Adds almost no weight to the rig

Use the JST 1.25 → JR Female adapter (listed in Tier 1 adapters) to plug stock and aftermarket light leads into the receiver/controller.

Choose the JR plug. You already swapped the stock ESC/receiver combo for an independent DumboRC receiver in Tier 1, so JR is the correct fit.

DumboRC light control module with JR plug

Your Complete Radio Channel Map

After these upgrades, most channels on your DumboRC X6PM-350 are used, with one spare for future expansion.

Channel Function Control Status
CH1 Steering (Emax ES08MA II) Wheel Active
CH2 Throttle (Hobbywing ESC) Trigger Active
CH3 Light Controller (modes) Toggle Switch Active
CH4 2-Speed Gear Shift Toggle Switch Active
CH5 Real-time Drag Brake Knob Active
CH6 Spare / Future Expansion Toggle Switch Open

Why the FCX24M, and why this guide exists

I run an independent app (Getter) and spend most days coding, fixing, and iterating. At some point I needed a hobby that didn’t feel like work. The FCX24M hit the sweet spot: a 2‑speed transmission in a $100 rig, licensed hard‑body detail, and scale realism that no other micro crawler matched. Only FMS could pull this off.

Once I started upgrading, there was no clear path, just scattered posts and trial‑and‑error. So I documented every step for myself, then turned it into this guide for fellow FCX24M owners. It’s honest, structured, and built from real experiments, not guesses.

Origin post: I first shared the full AliExpress cart publicly when this build was just an idea. View the post

Original Facebook post showing the build cart

Click to zoom

I live a mobile life and work from different places, so a full‑size 1/10 rig just wasn’t practical when I got into the hobby in 2025. The FCX24M is travel‑friendly, fits anywhere, and still delivers real trail and crawl capability. It’s the only scale that actually matches how I live.

Community

See what others are building and running here:

FCX24M Owners Group

Frequently Asked Questions

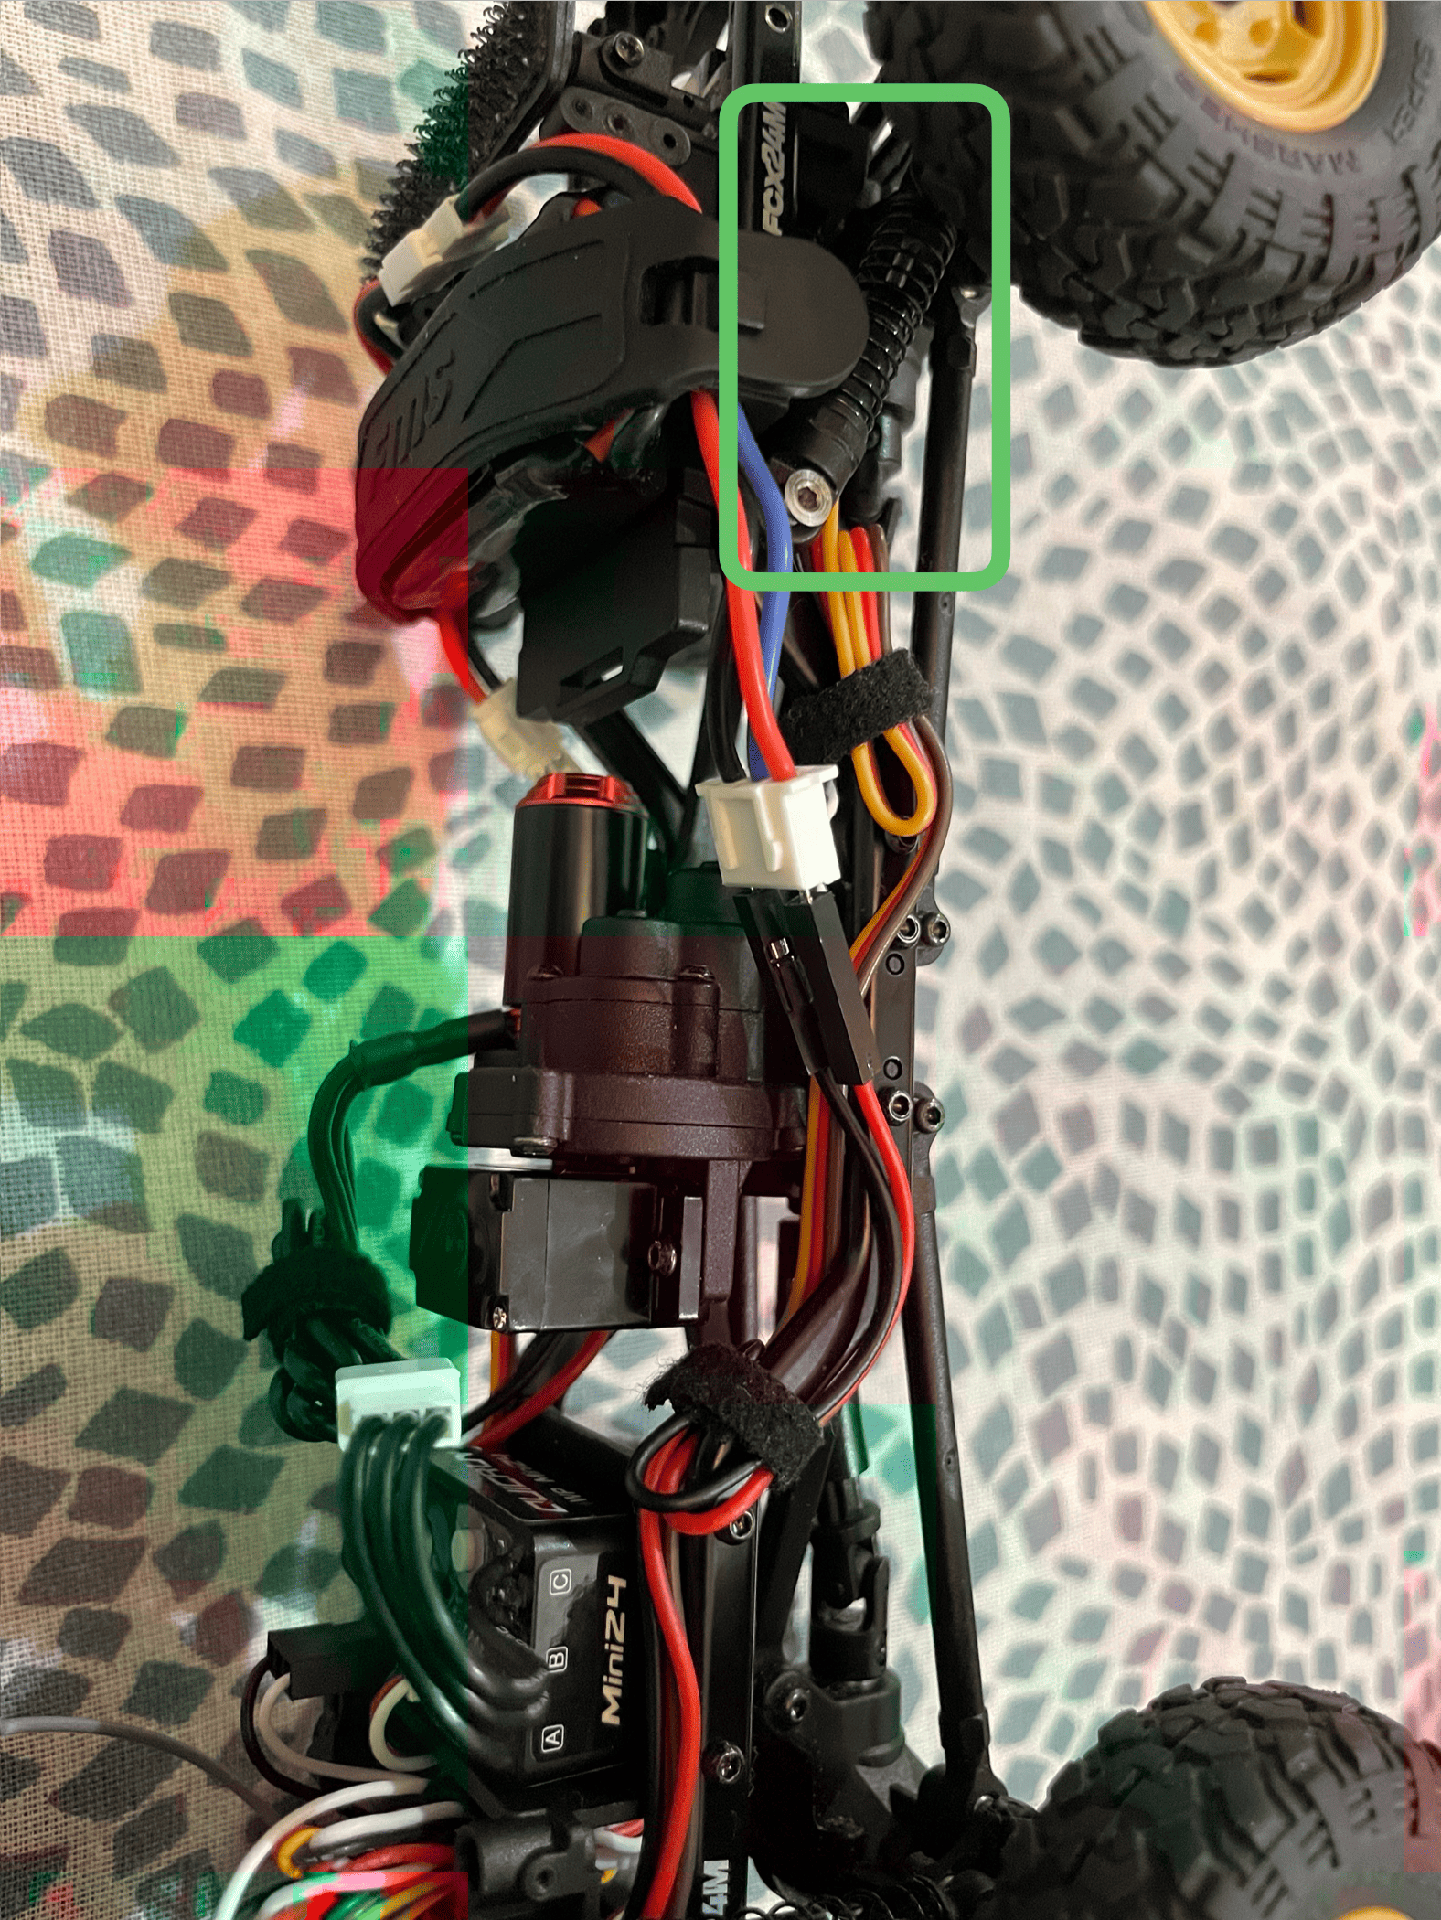
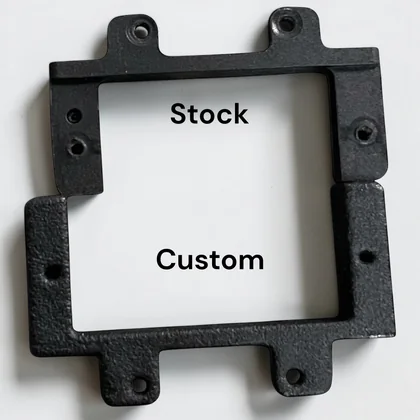
Benefits: No cutting wires, no soldering, and no permanent changes to your FCX24M. It keeps the build beginner‑friendly and fully reversible.

Quick specs for context:

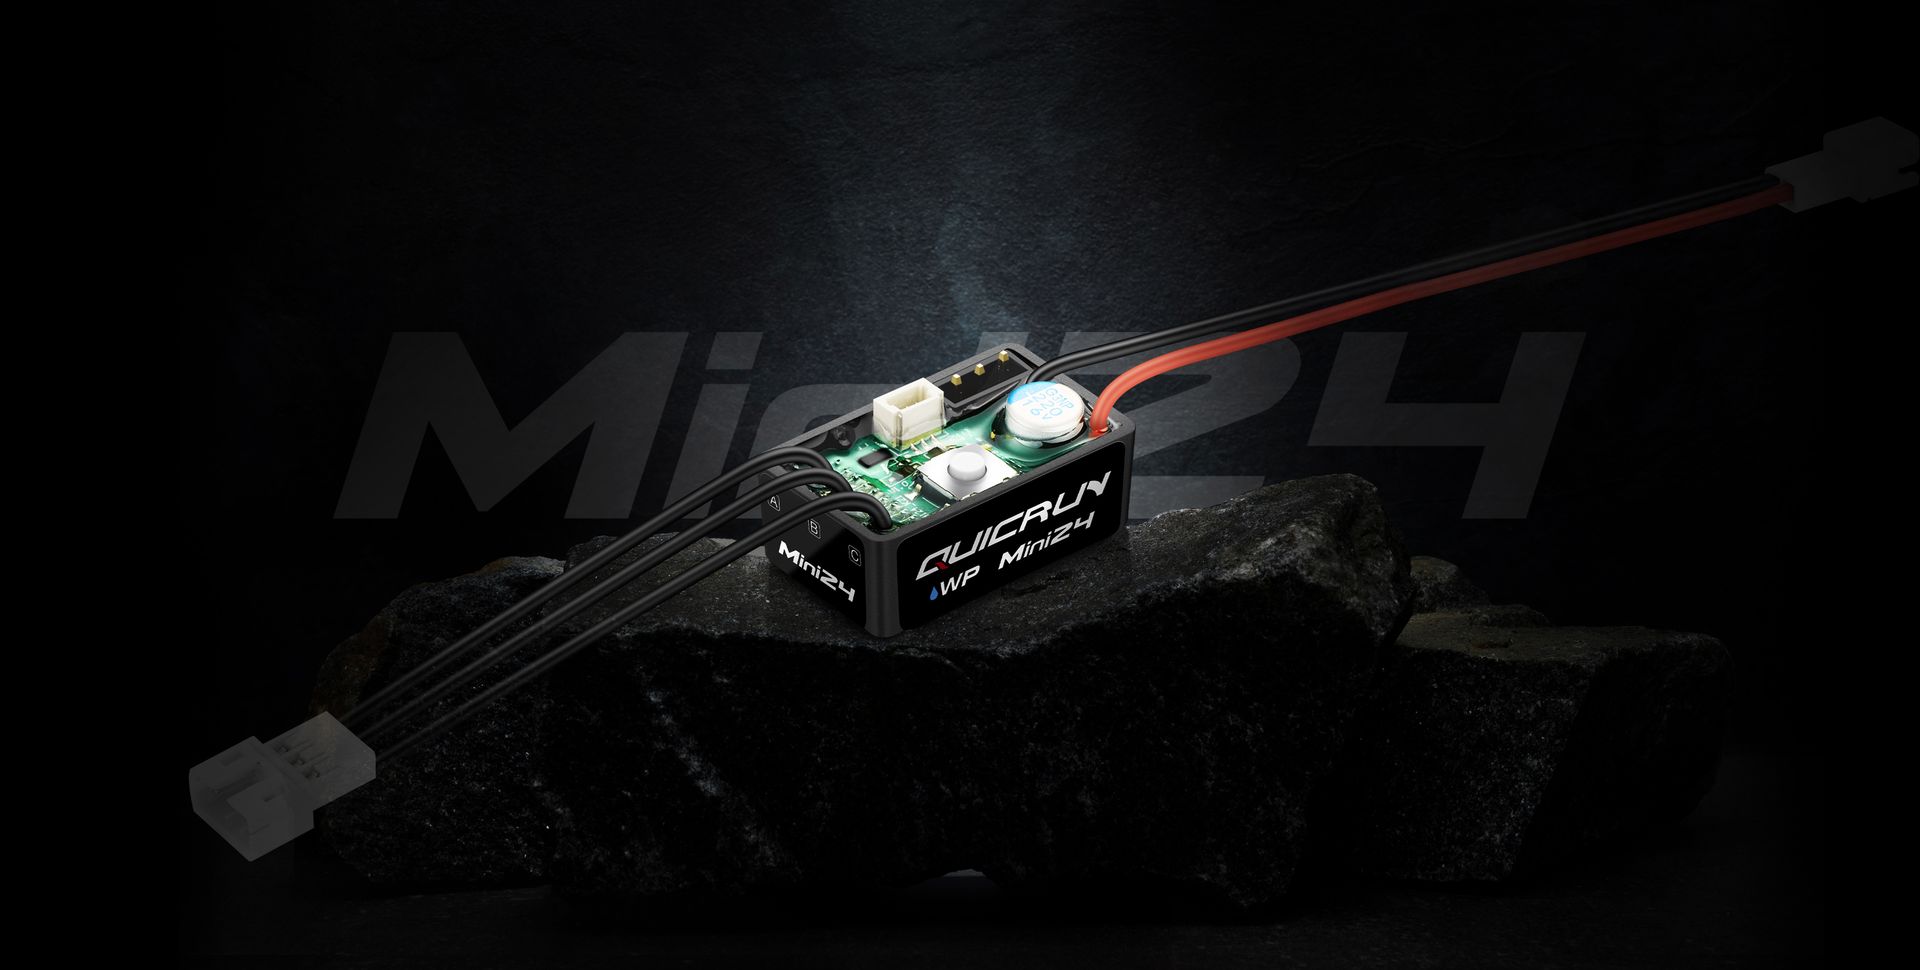
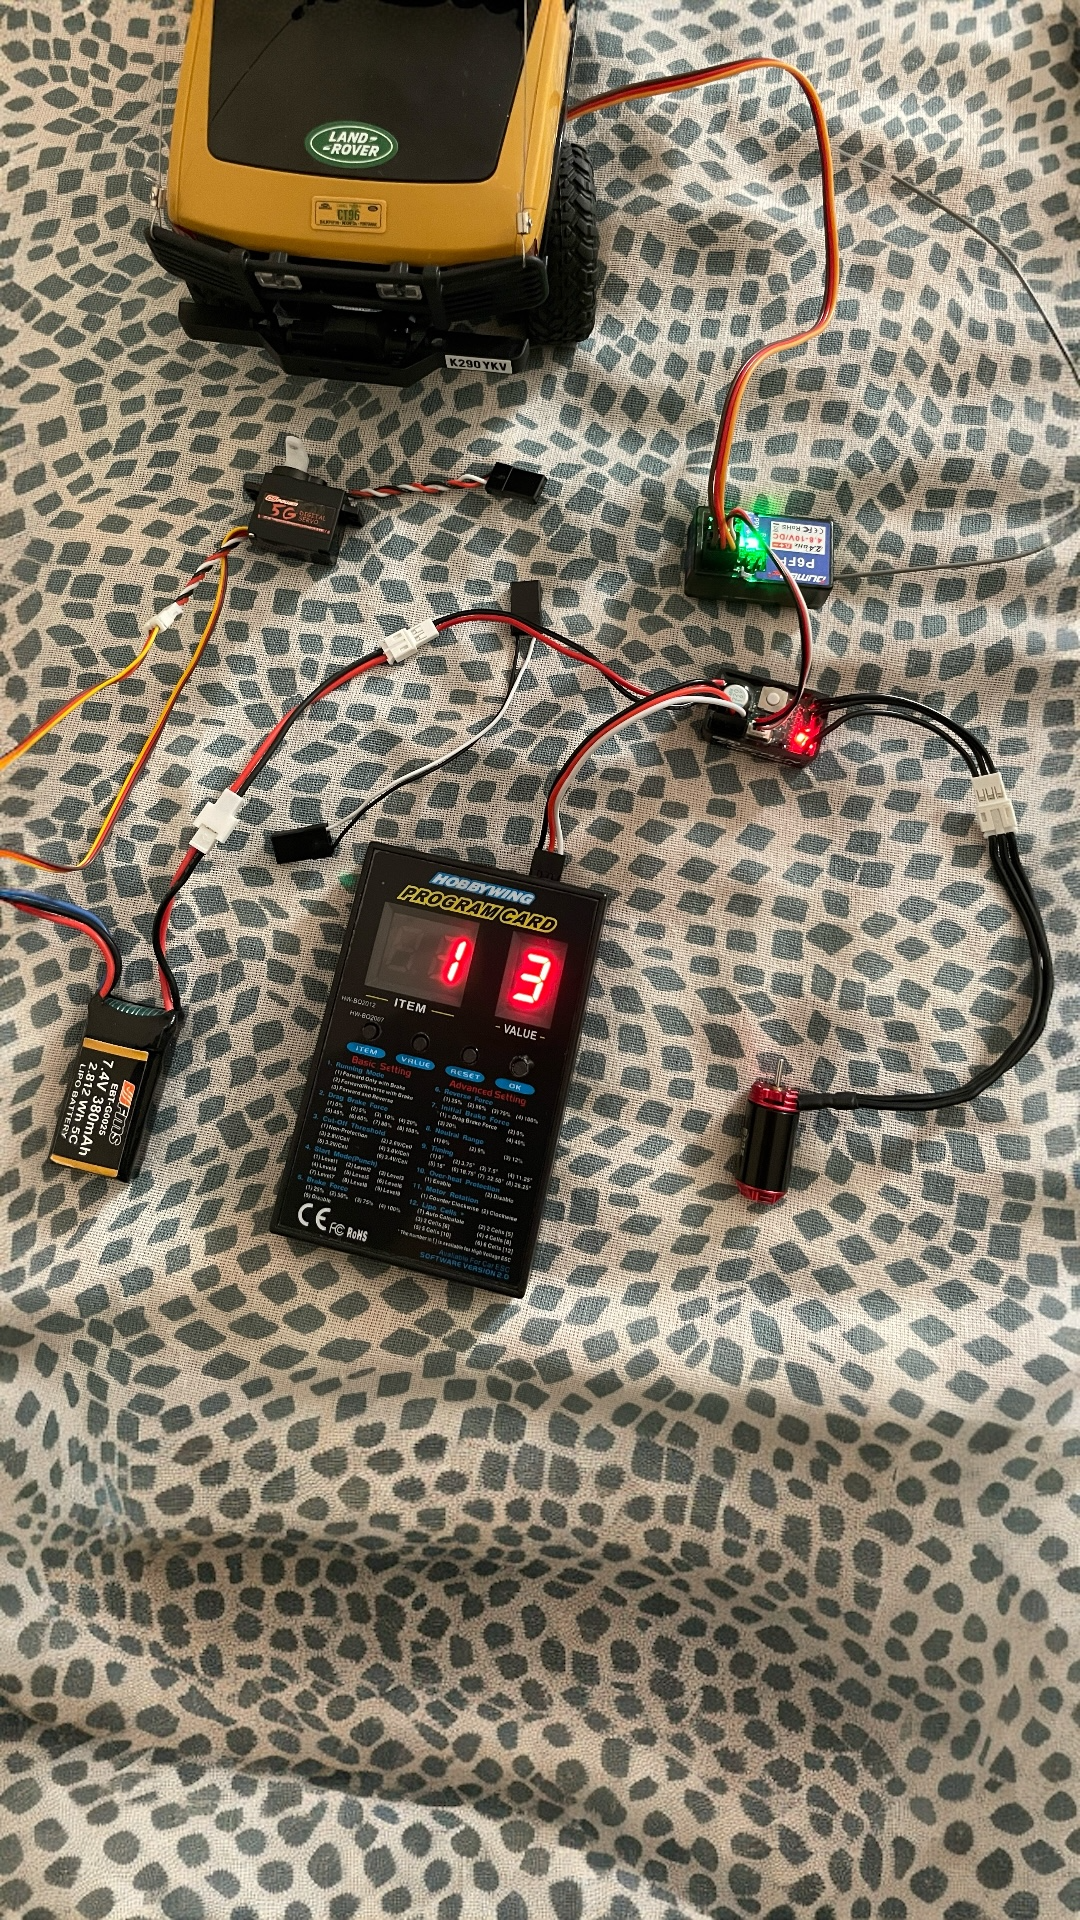
  • Hobbywing WP Mini24 ESC: 25A/60A, 2–3S LiPo, BEC 6V/7.4V @ 2A, PH2.0 2‑pin battery connector and PH2.0 3‑pin motor connector.
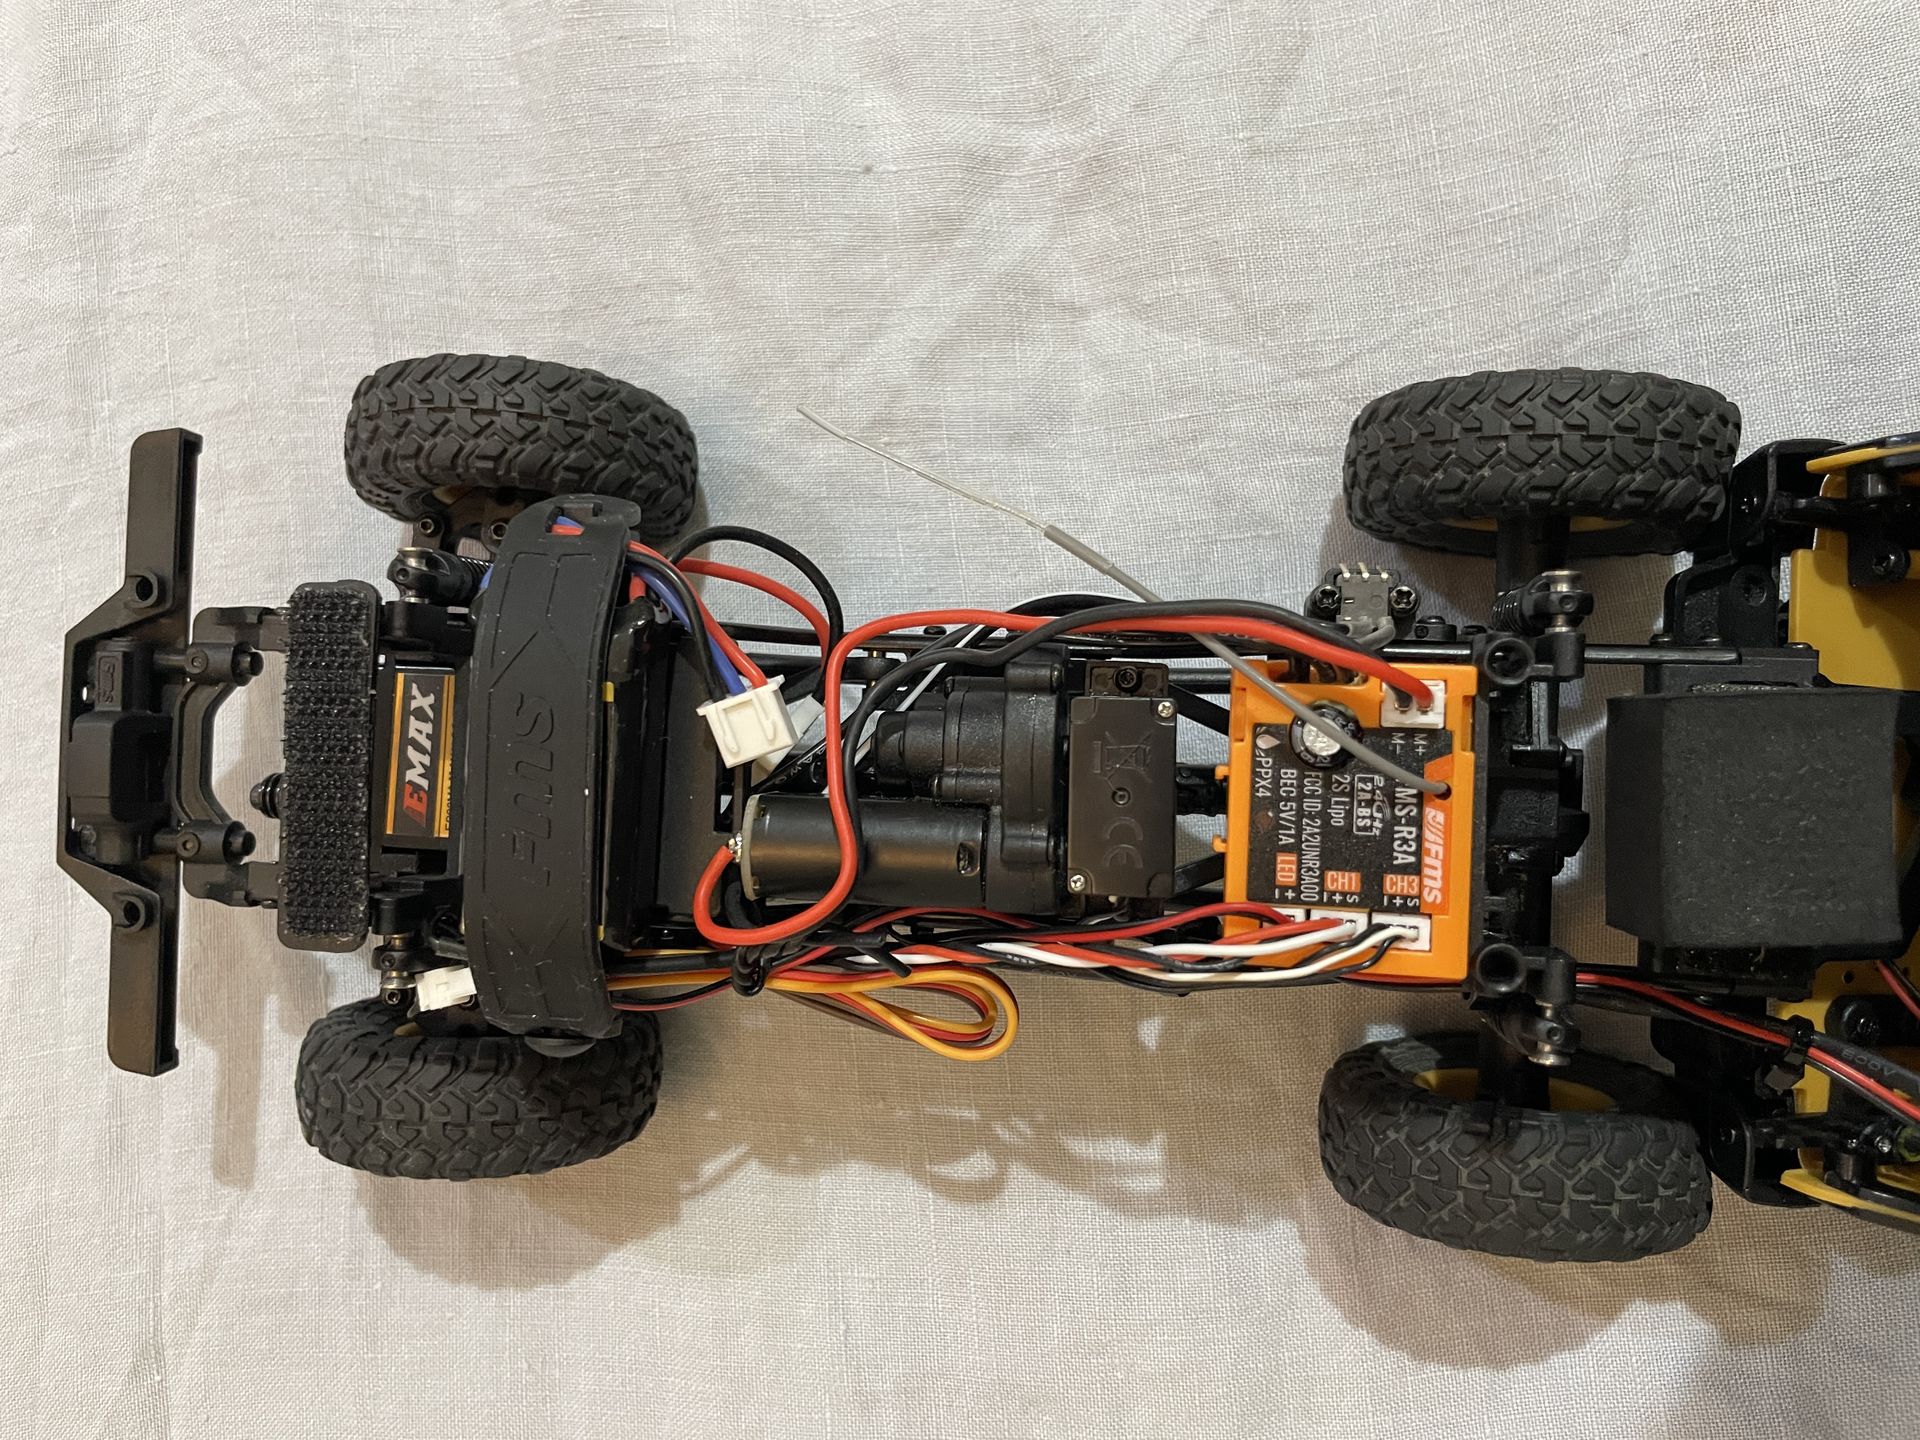
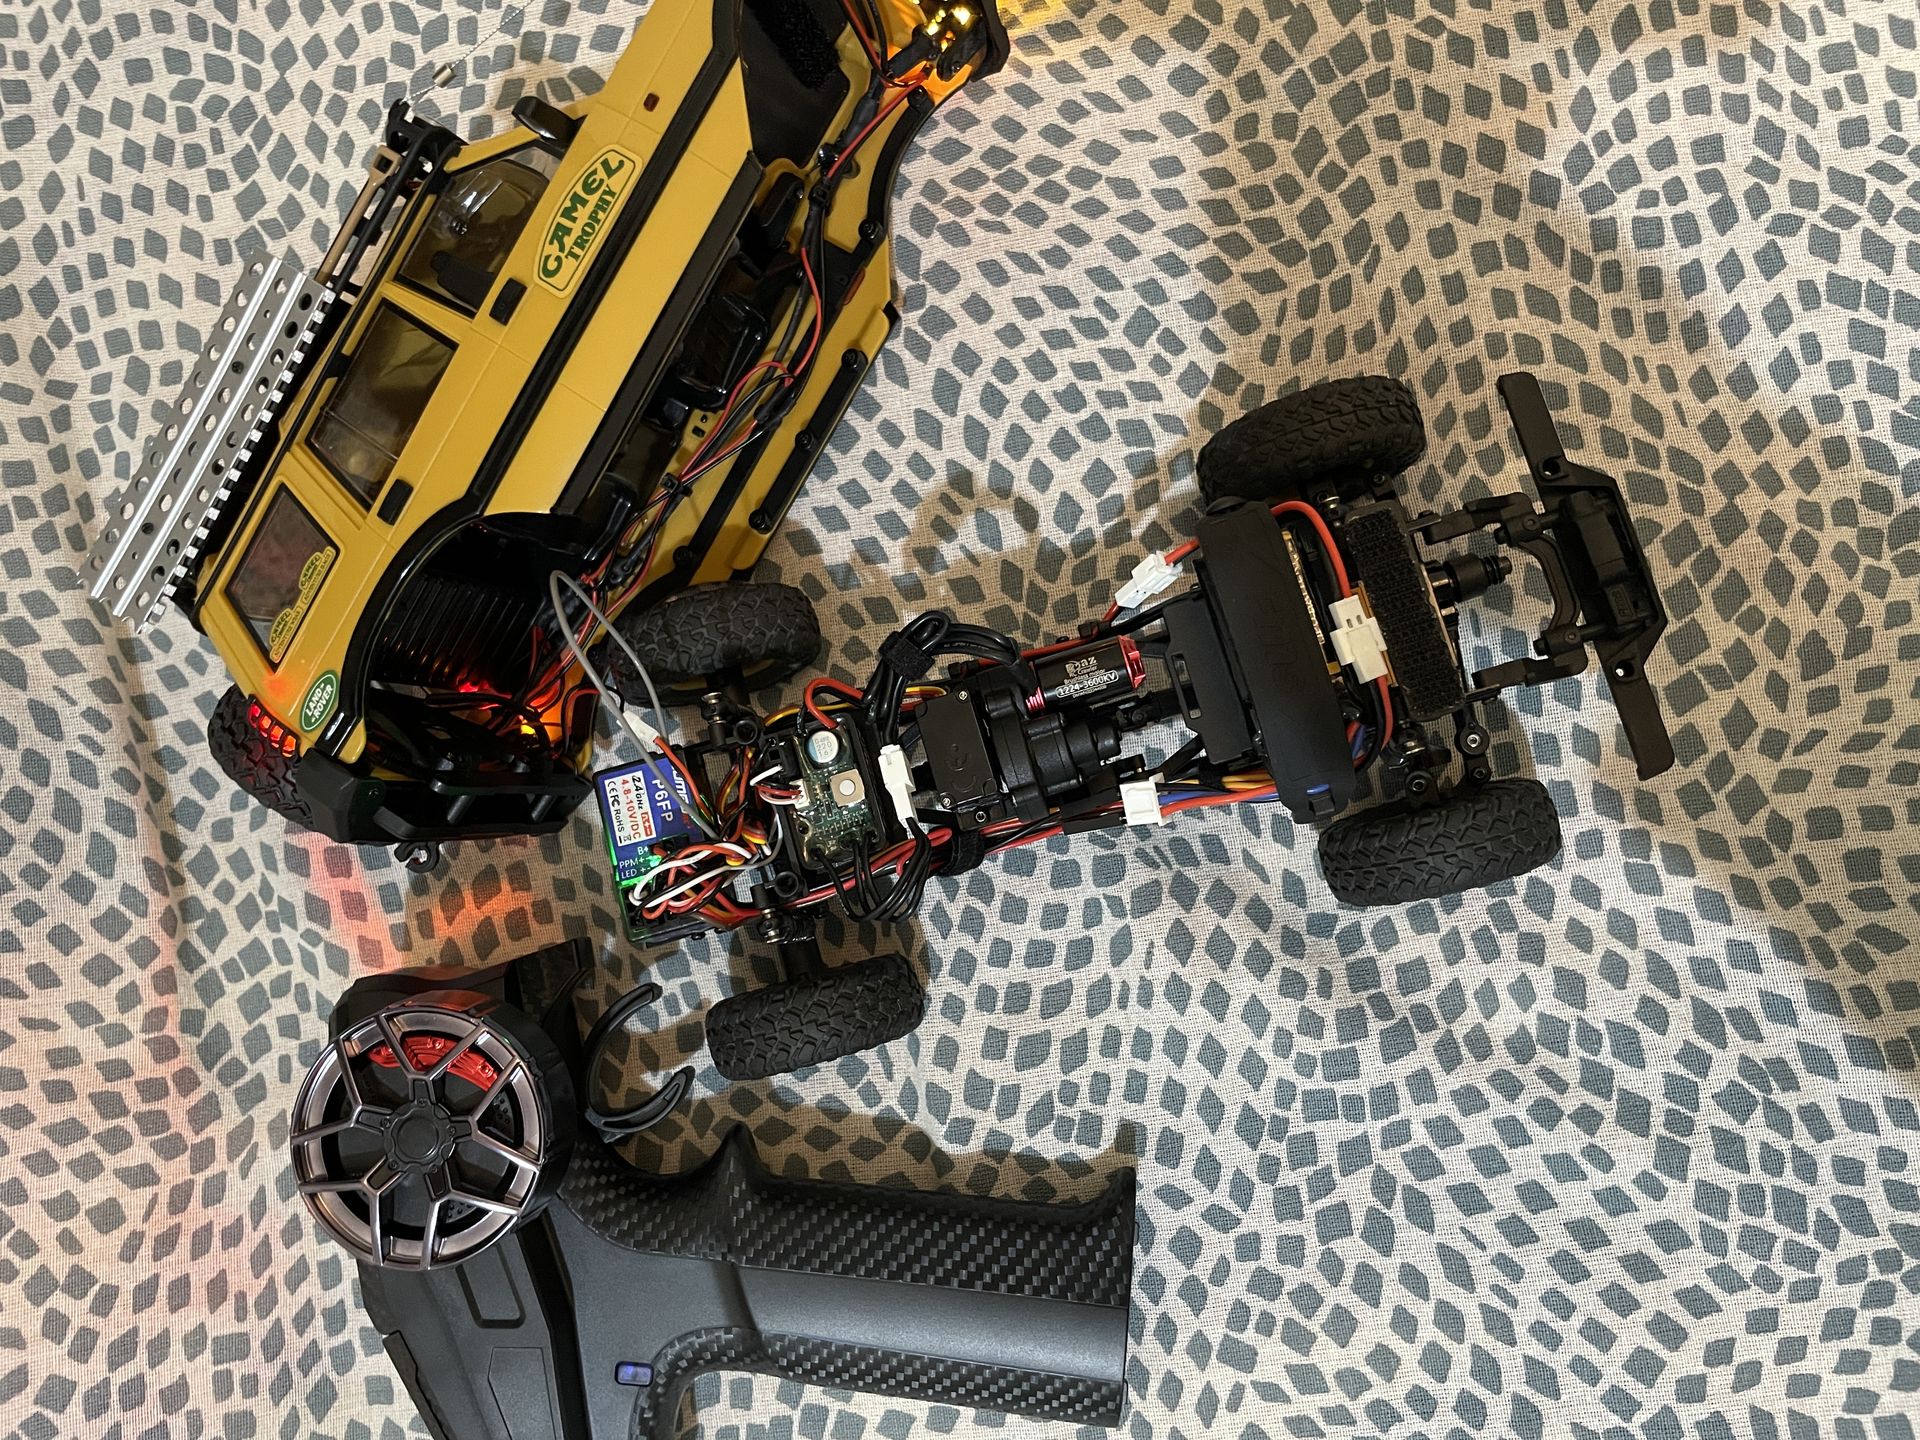
  • Stock FCX24M battery: 2S 380mAh with 51005 2‑pin + XH2.54 balance connector.
  • Connector ratings (manufacturer specs): JST PH2.0 is rated 2A; XT30 is rated 15A continuous / 30A peak; BT2.0 is rated 9A continuous / 15A burst.

Drawbacks: Adapters add resistance. The PH2.0 battery and motor plugs are the main bottlenecks versus XT30/BT2.0 or larger bullet connectors, so peak punch is limited when the drivetrain asks for high current.

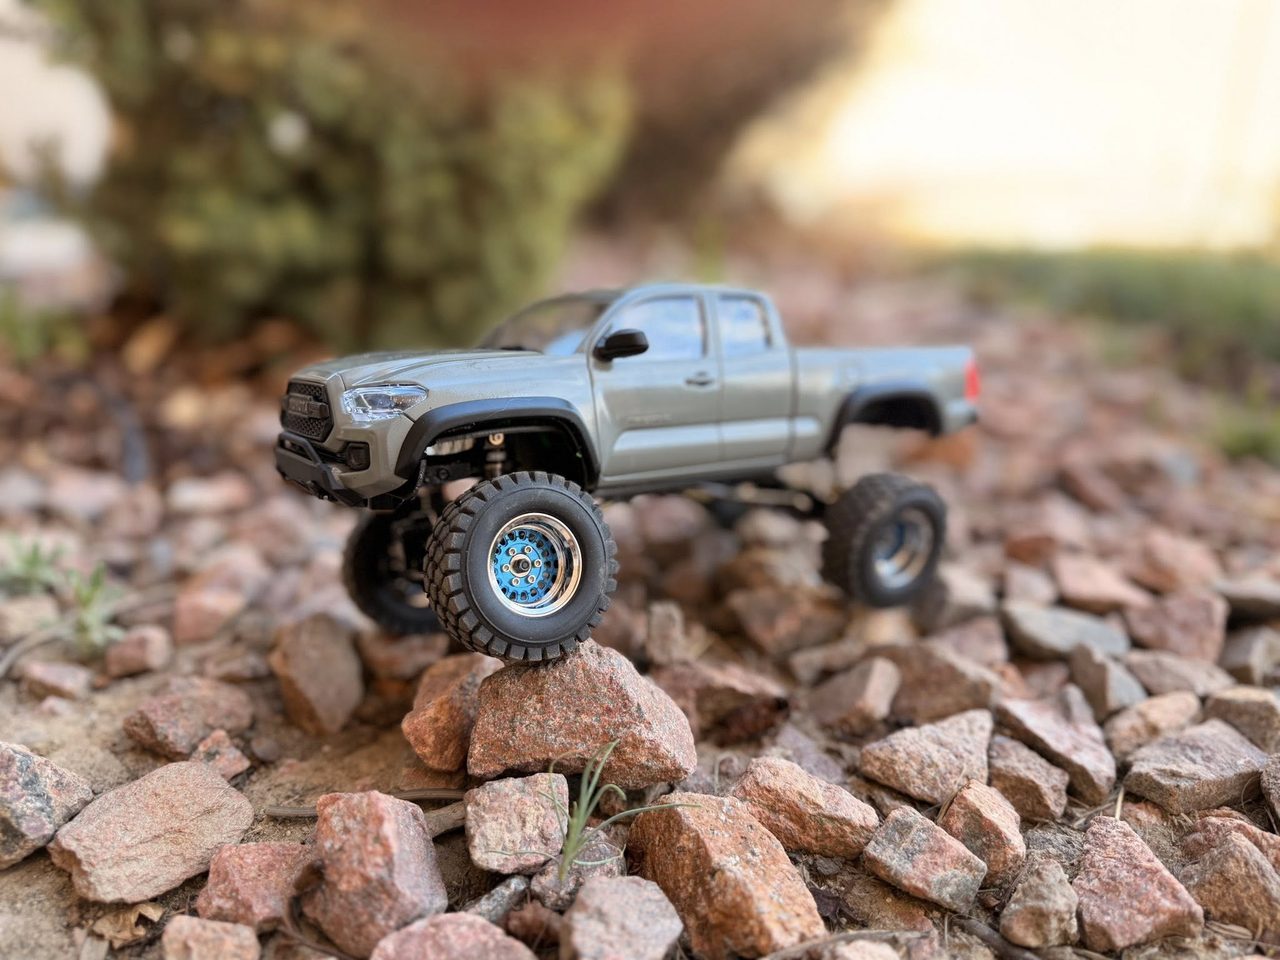
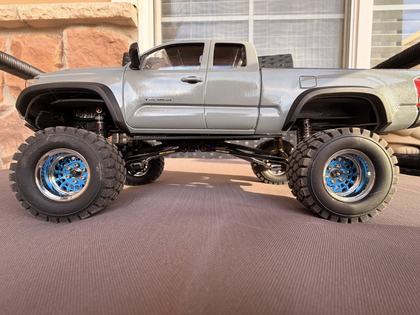
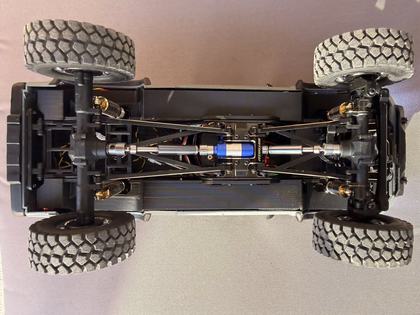
Why it still makes sense here: This is a micro crawler built around a 2S 380mAh pack. That’s modest current demand, and too much power into a mostly‑plastic drivetrain can be counter‑productive and break parts sooner. Adapters keep the build safe, clean, and reversible.

Short answer: Yes. All FCX24M variants share the same core platform. The only thing to check is clearance inside the chassis for the new ESC and receiver.

My assumption: Tacoma and Defender 110 should fit similarly to the Discovery shown here. Defender 90 may need extra checking because the body is smaller.

Critical: The stock motor uses an 11T pinion, but the 1224 brushless motor often comes with a 12T. You MUST swap them. Wrong mesh causes overheating, noise, and stripped gears. Most pullers only remove the pinion, and you still need a separate press tool to install it. The Meus Racing tool is the only one I found that does both in a single tool, which makes micro pinion swaps clean and repeatable.

It does not automatically mean the gearbox must be opened. On the stock FCX24M G3 transmitter (radio) + stock ESC/receiver combo, recover it from the neutral-center method. On the DumboRC CH4 setup in this guide, leave the servo arm disconnected, let CH4 rest, reconnect at the low gear end, then retest low and high with small EPA changes.

No. The Hobbywing WP Mini24's BEC outputs 6V, and the DumboRC P6FP receiver passes this to connected peripherals. Long-term testing confirms the stock FCX24M lights (the full 12-light harness) handle 6V without issue when connected through the receiver.

Yes. By relocating the battery to the front and mounting the P6FP receiver horizontally in the rear tray, everything clears the full-scale Camel Trophy interior. The ESC sits flat on the chassis floor using double-sided tape. No modifications to the body shell are needed.

The 1224 at 3600KV provides significantly higher torque than the stock brushed motor while running cooler , even under the heavier load of the hard body. It's a direct bolt-on fit with the stock motor mount, and its PH2.0 connector plugs straight into the Hobbywing ESC. No alternatives in this size class match its torque-to-weight ratio at this price point.

DumboRC is actually a subsidiary of RadioLink. It's their budget line, not a cheap knockoff. The X6PM-350 is a proven workhorse that offers 6 channels, voltage telemetry return via LED indicators, and the P6FP receiver is compact enough to fit inside the FCX24M chassis. RadioLink and FlySky both offer compact receivers too, but in this price range, nothing matches the DumboRC's combination of channel count, features, and value.

No. Brushless motors have three phase wires (A, B, C) and the direction depends on wiring order. Simply change "Motor Rotation" in the Hobbywing ESC settings using the Program Card. Either method reverses direction instantly.

The stock FMS 2S 380mAh LiPo works perfectly with the brushless setup. Expect 25–40 minutes of crawling depending on terrain and throttle usage. The Hobbywing ESC has low-voltage cutoff protection, so your battery is safe. If you use the DumboRC P6FP receiver with voltage return, you’ll see the battery level on the transmitter before cutoff hits, which helps you stop earlier for longer battery life and more charge cycles. For extended sessions, grab a second battery. they're inexpensive and swap in seconds.

Zero soldering. That's the entire point of this build. The Molex-to-PH2.0 adapter handles power, the JST 1.25-to-JR adapter handles the gear shift servo signal, and both the motor and receiver use plug-and-play connectors. If you can plug in a USB cable, you can do this build.

Absolutely. The DumboRC 6-channel setup gives you room for future expansion: winches, additional lighting modes, and more. This build is designed as a foundation, not an endpoint.