Foundation
"Before you upgrade anything, set yourself up to never strip a screw."
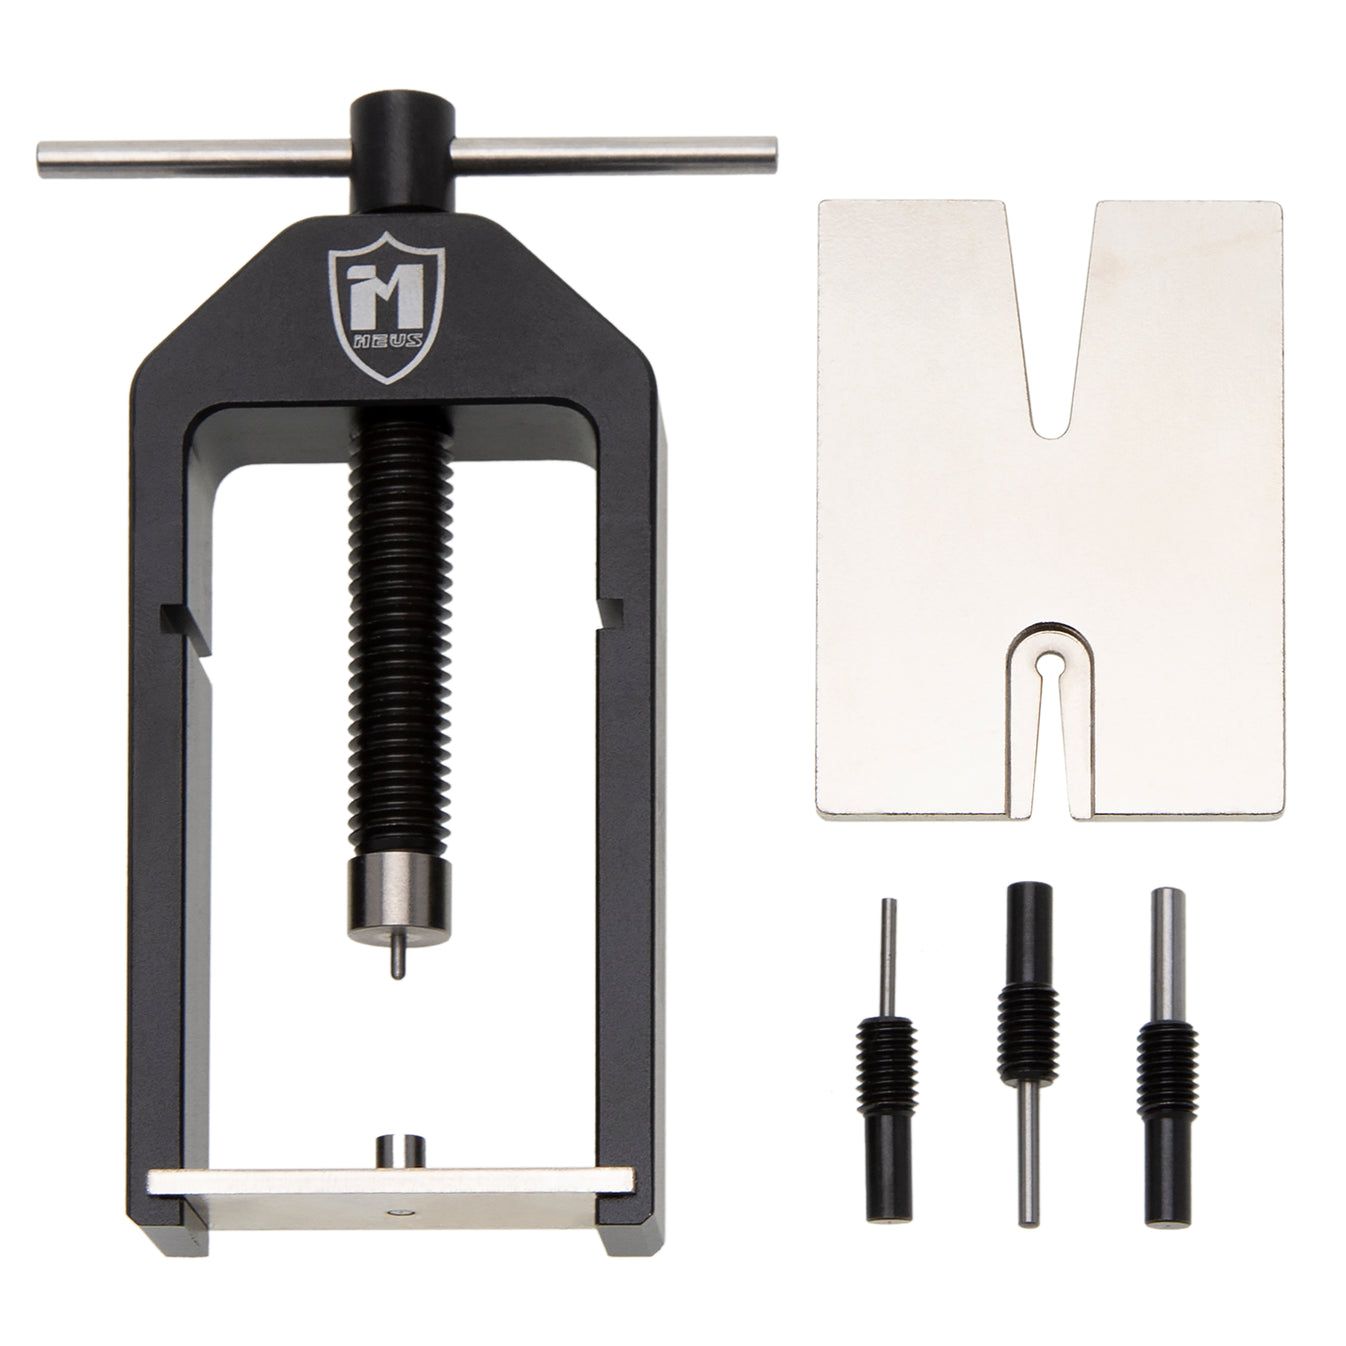
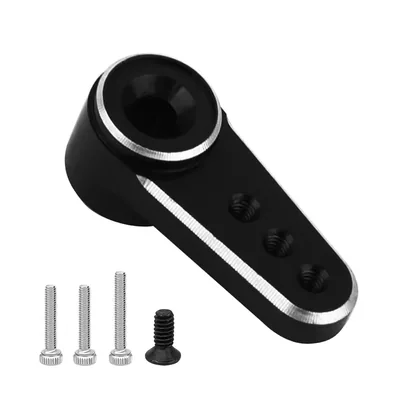
The Only 3 Driver Bits You Need
Every screw on the FCX24M uses one of these three sizes. Skip the $30 generic kit. $8 worth of specific bits does the job better.
PH00 Phillips
Interior, driveshafts, clipless mounts
In BoxWheel nuts use a 4mm hex nut driver, and it already comes in the FCX24M box. Use it when you need to pull the tires.
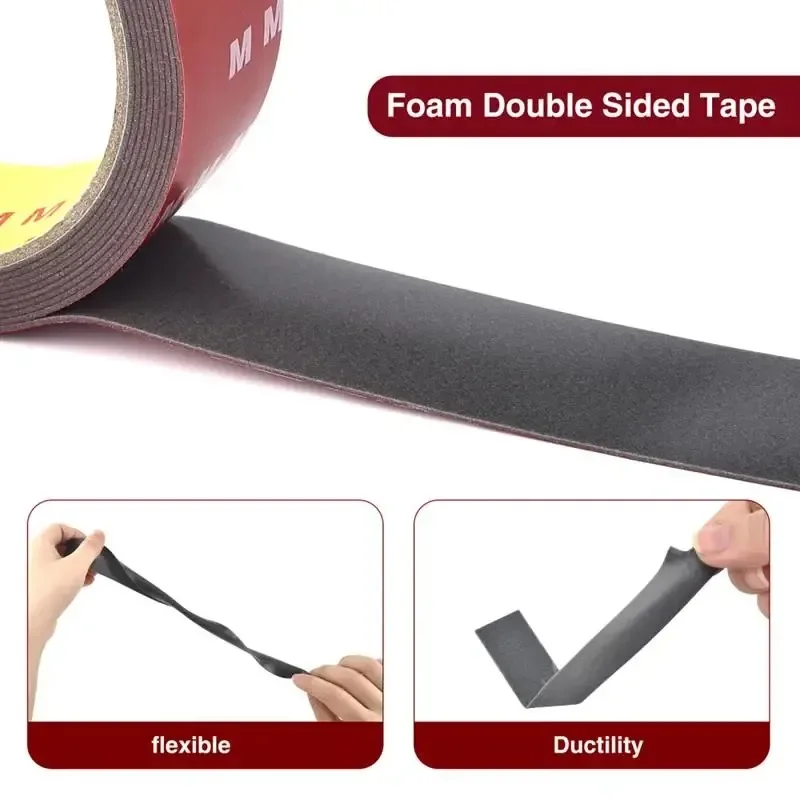
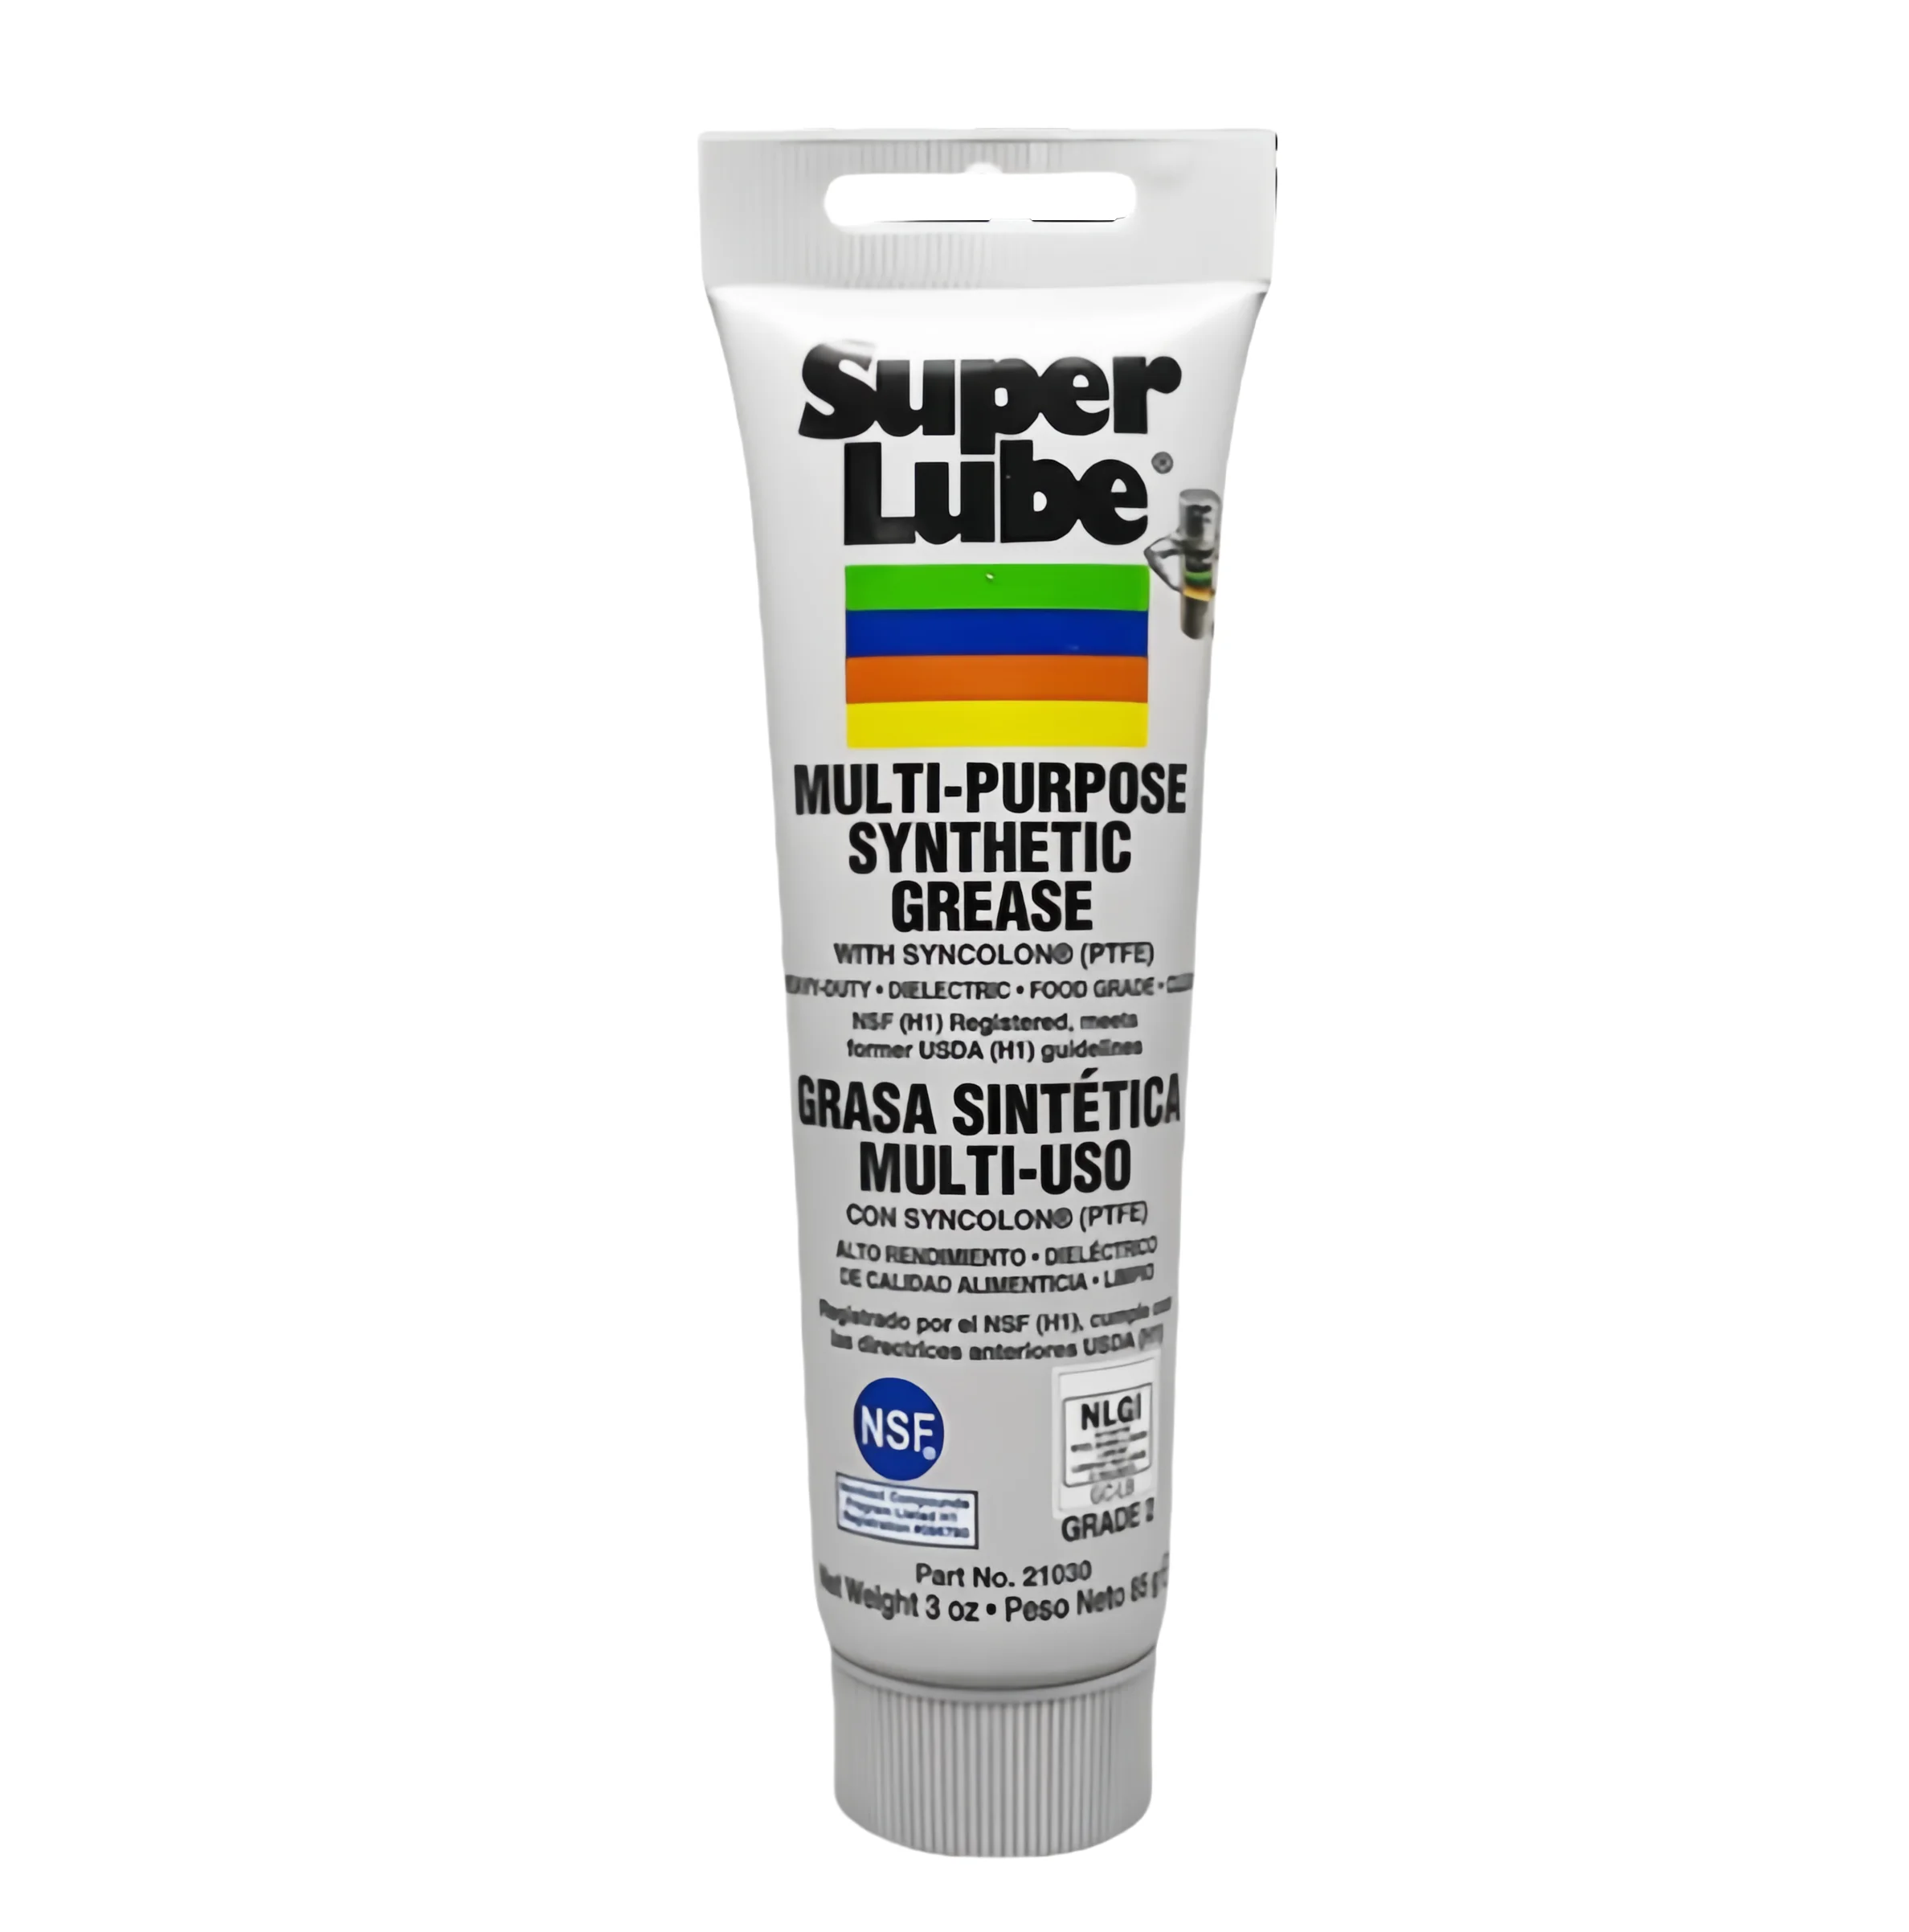
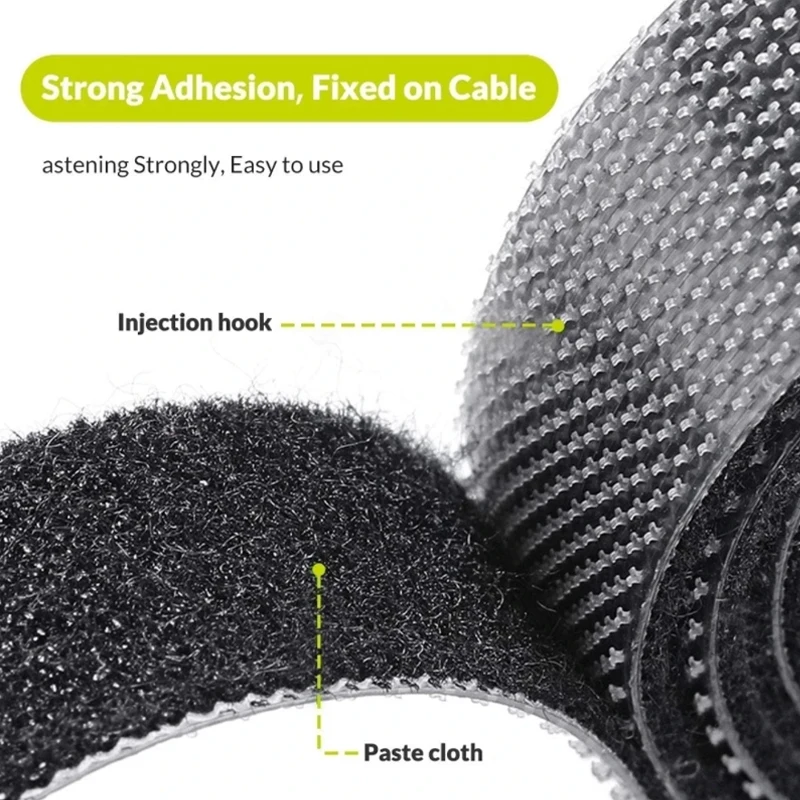
Essential Accessories
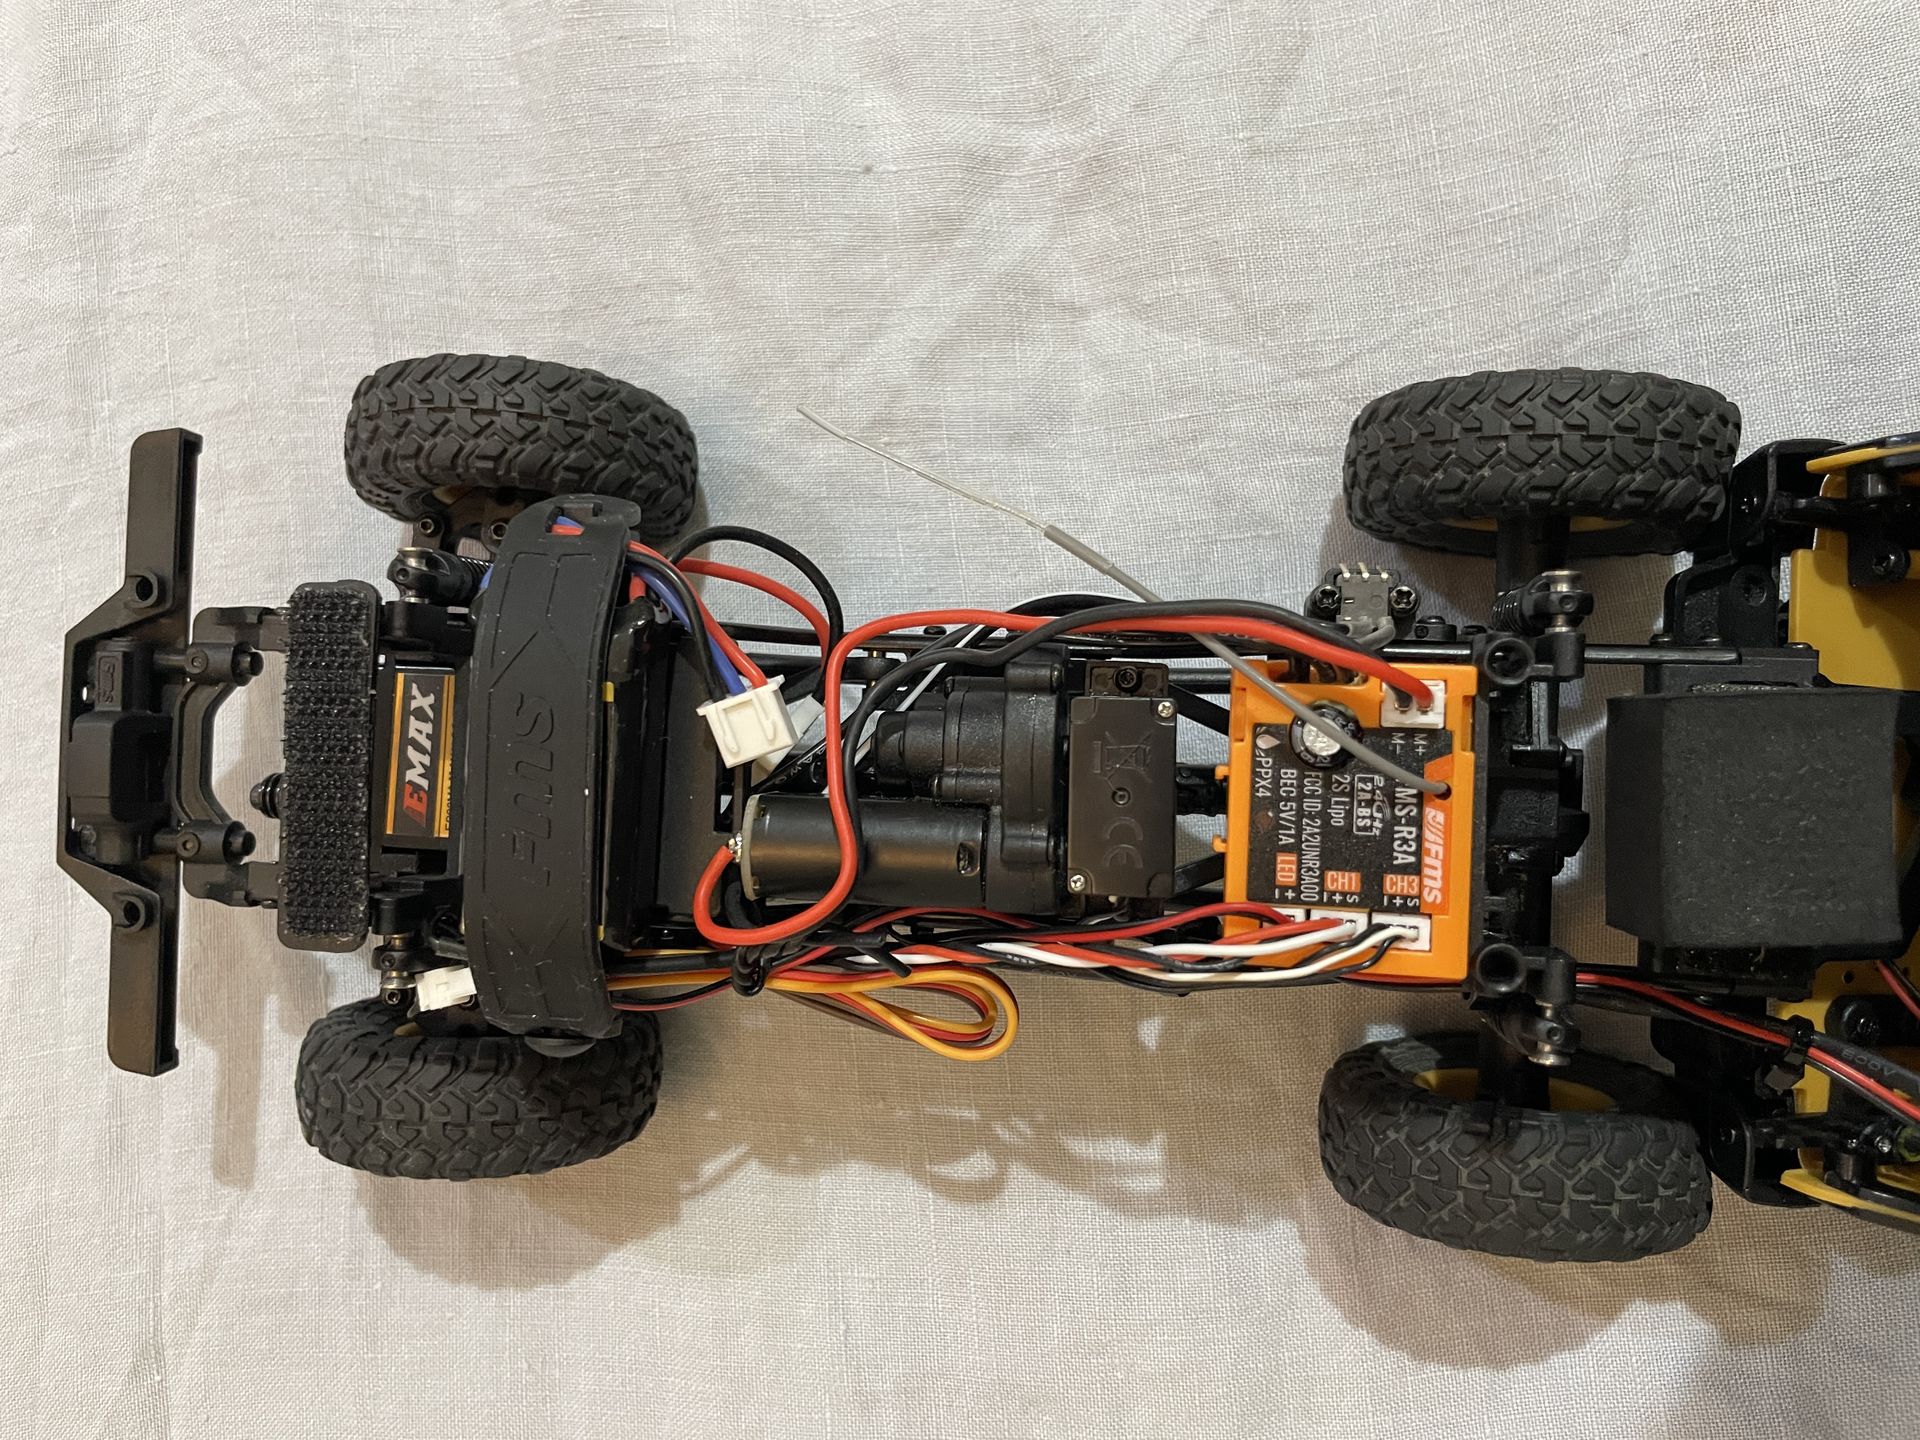
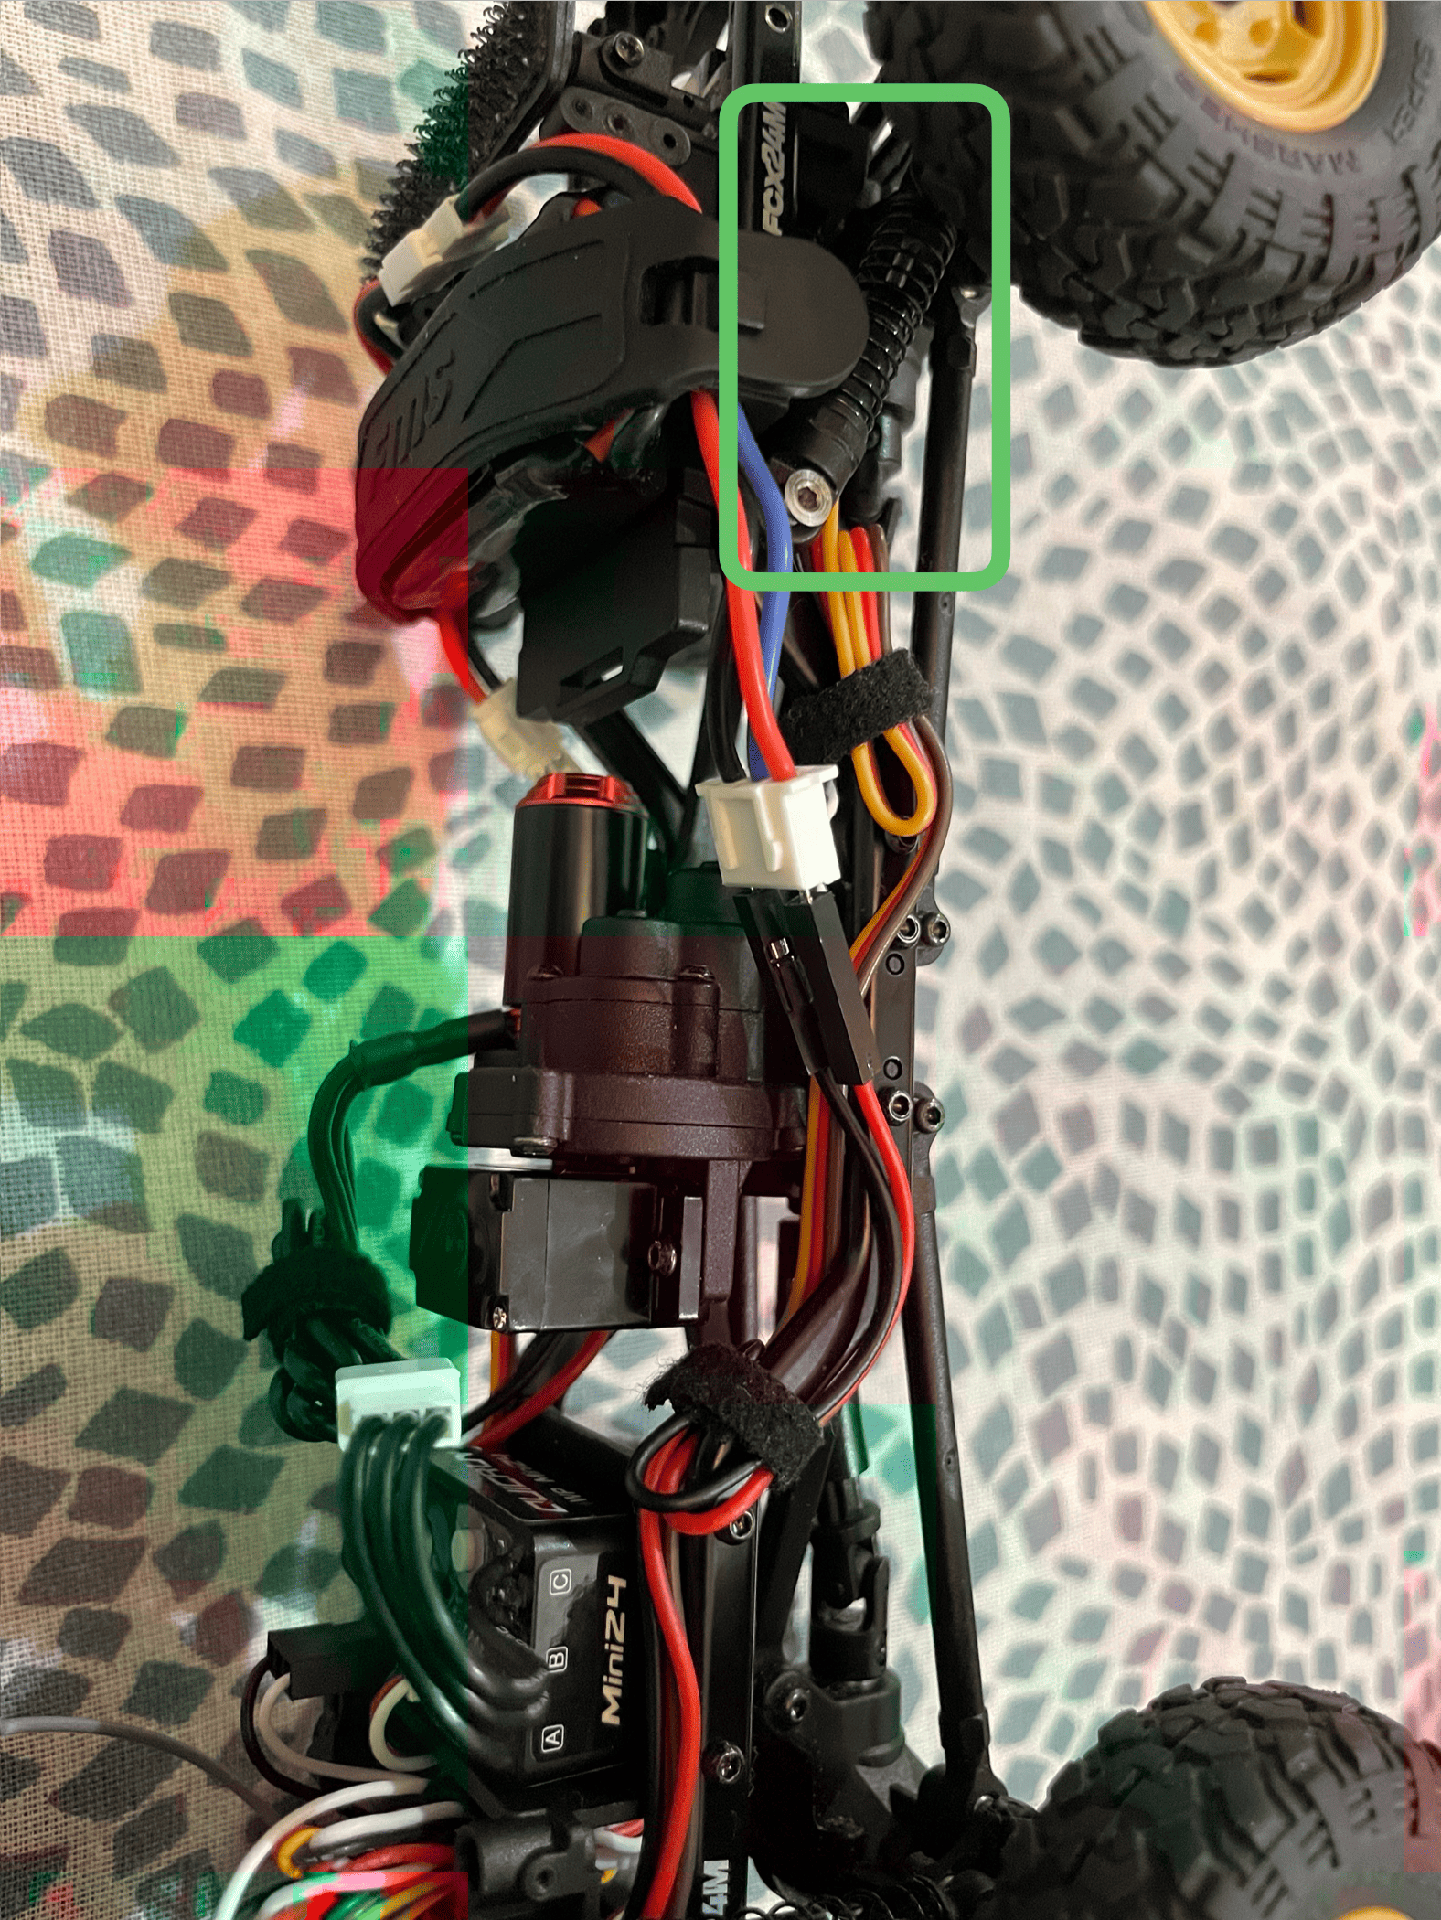
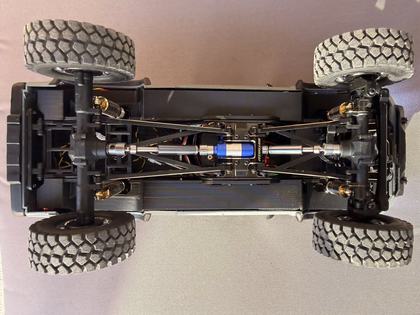
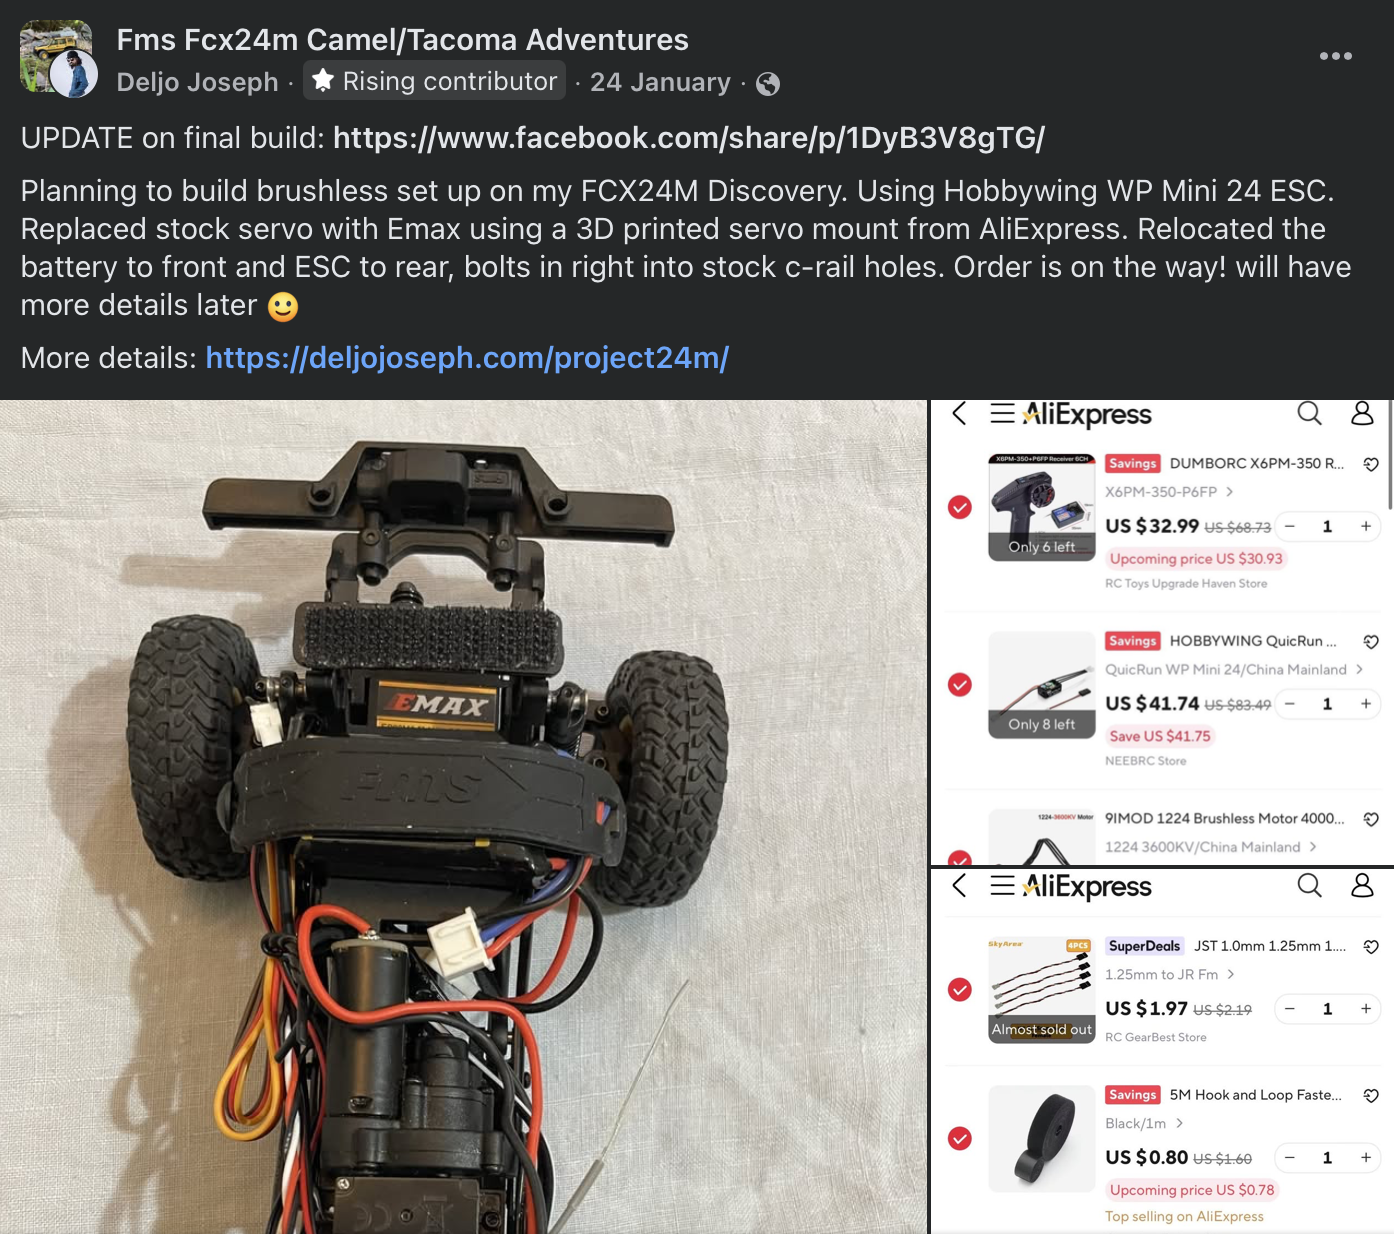
Chassis Prep: Move Battery to Front
This is the single most important prep step before installing new electronics.
Relocate the battery from the rear tray to the front of the chassis.
This achieves two critical things:
1. Better COG that adds weight over the front axle for more stable climbing and descents
2. Space for electronics, freeing up the rear tray for mounting the new ESC and receiver in Tier 1
No modifications to any stock part are required - the battery tray and ESC are adaptable to the c-rail holes that came from the factory.